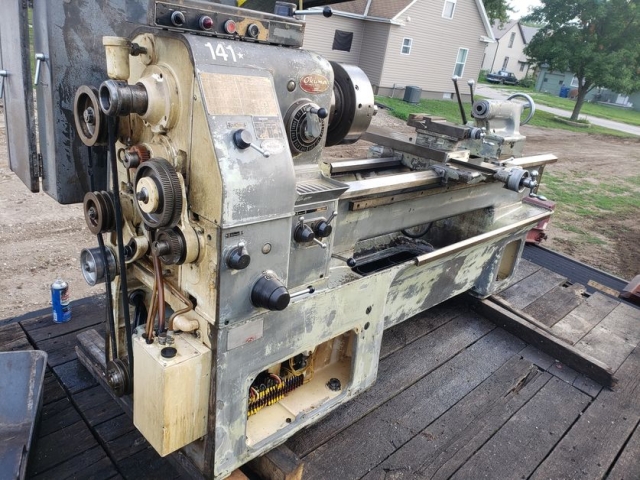
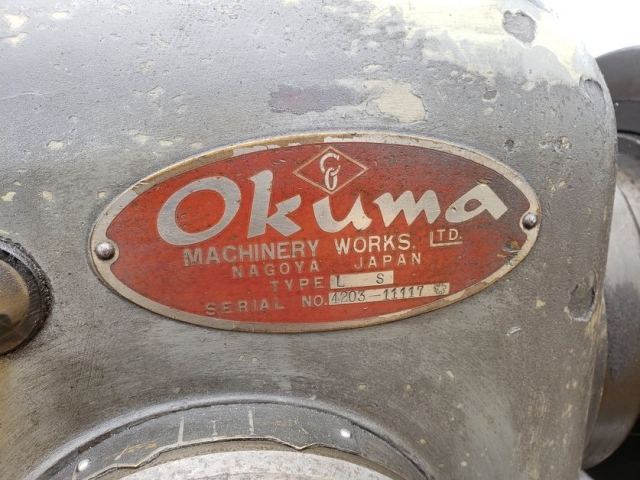
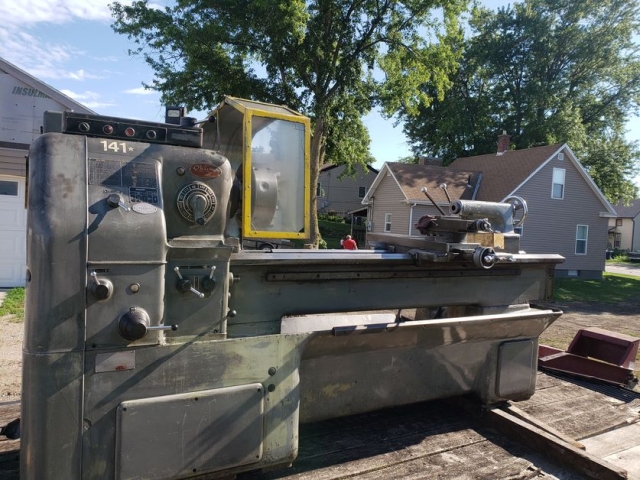
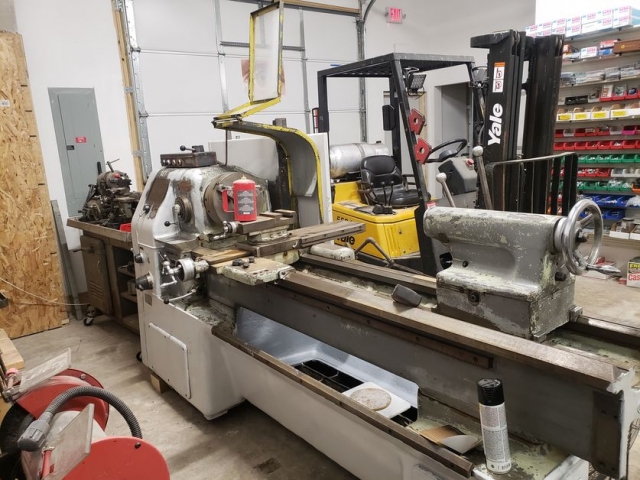
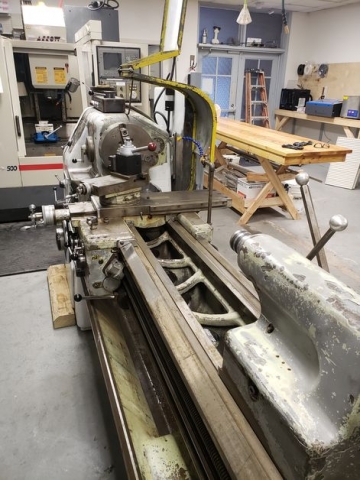
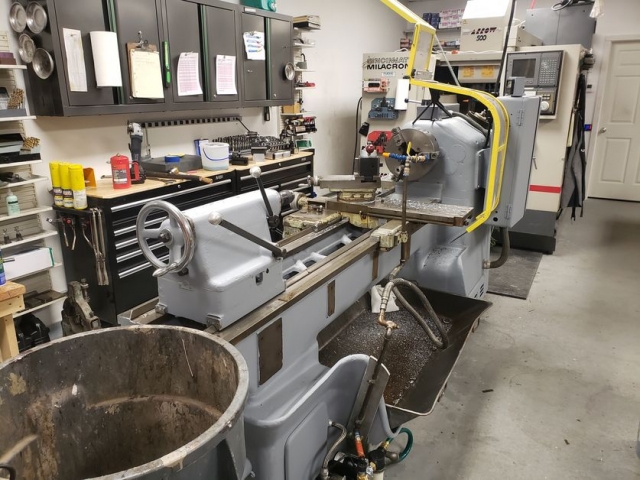
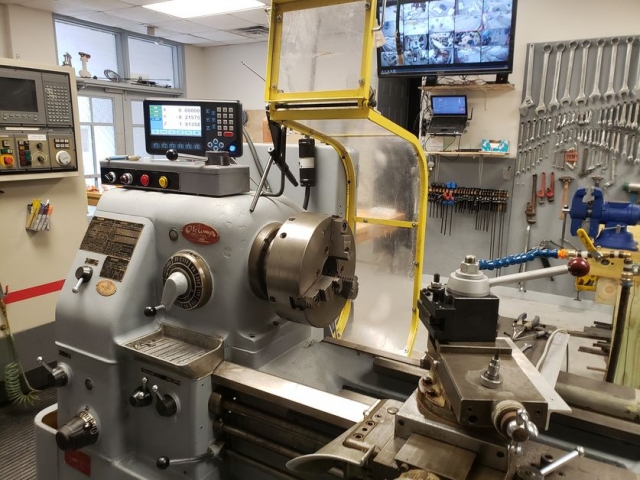
Okuma LS 59″ Lathe
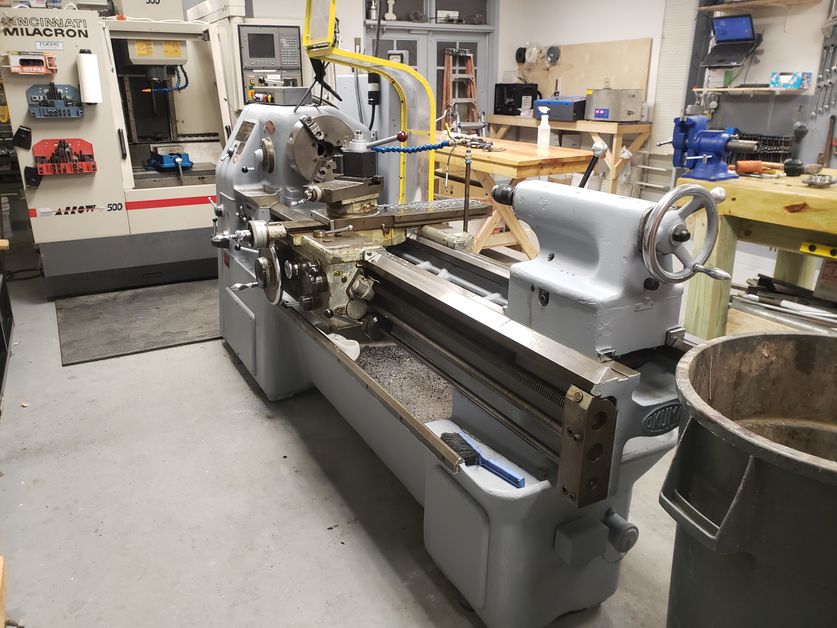
Specs:
- Purchase Date: 7-22-2020
- Purchase Price: $0
- 3 Phase 10HP motor
- 59″ throat
- 10″ Chuck
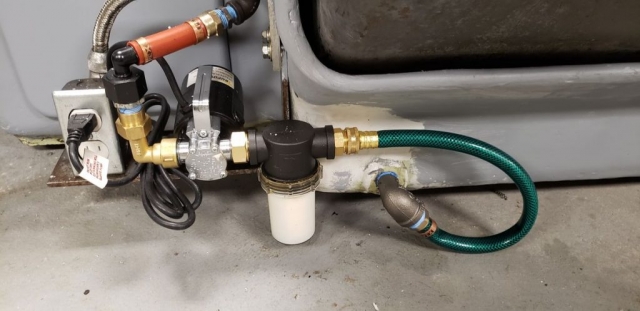
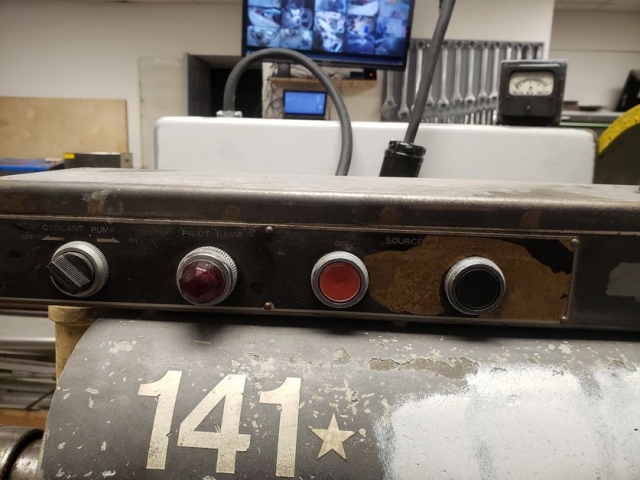
- Coolant pump system
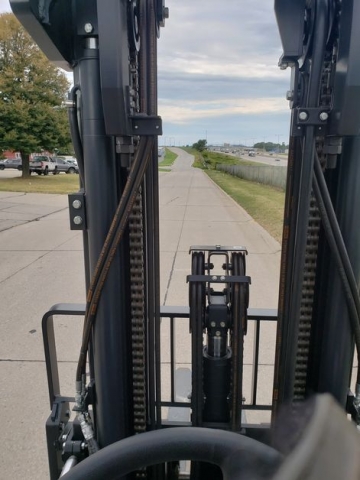
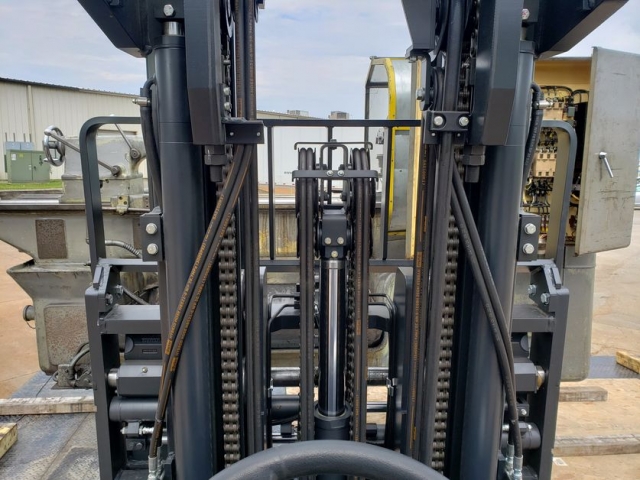
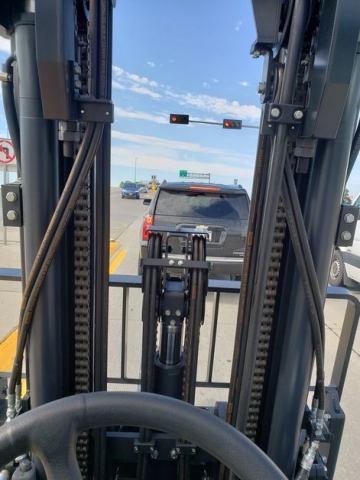
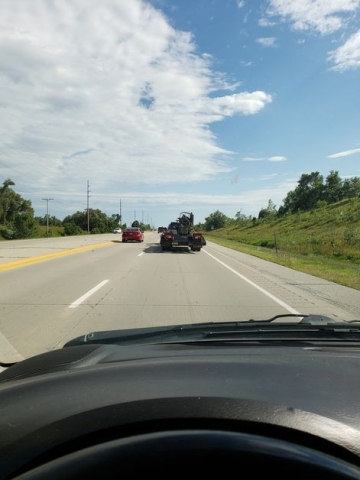
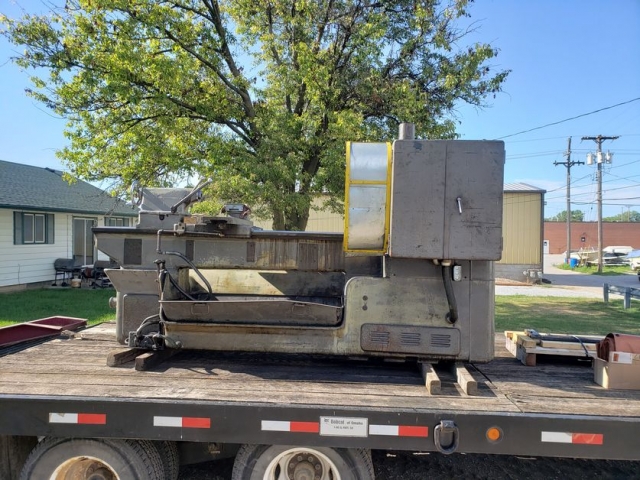
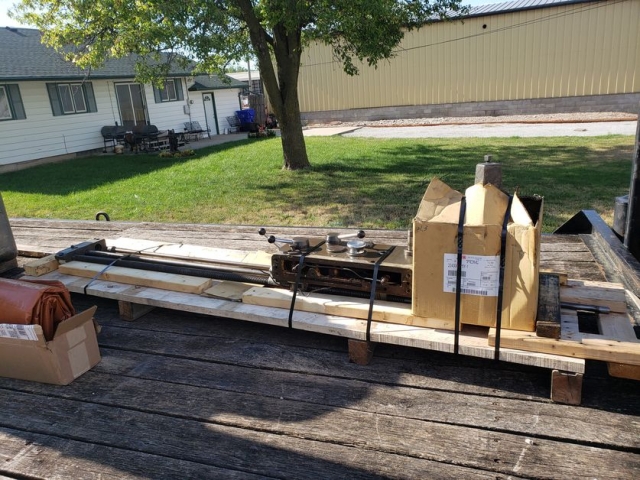
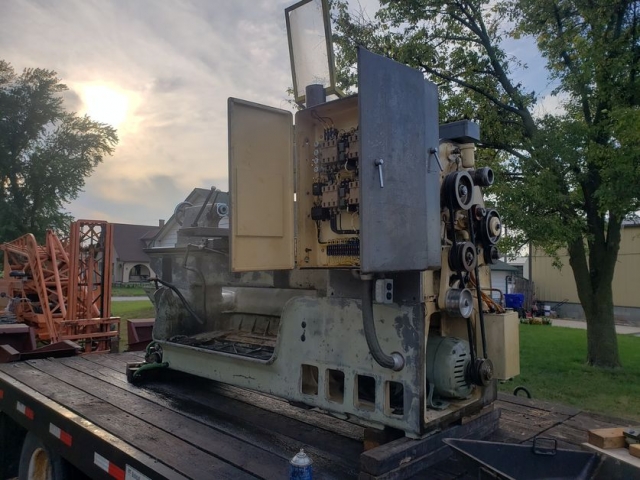
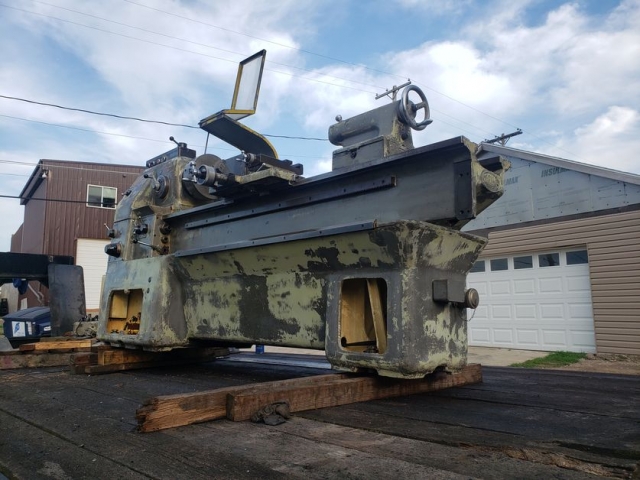
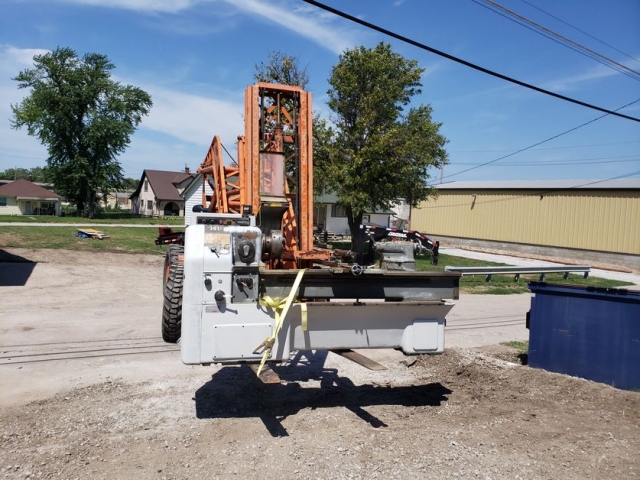
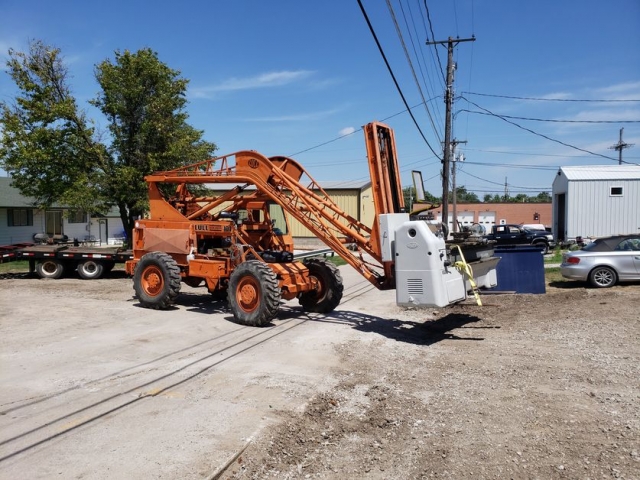
I have a SouthBend 10L lathe but it’s small and not well suited for large machining. I’m always looking for new machinery, you never know when something is going to come up and it maybe years in between but when an opportunity presents itself you have to take it. My friend Tim came across one that was broken and they were going to scrap and asked if I wanted. How much? Free but you have to haul it off. OK! At the time my F350 was down with the overheating issue and I didn’t have anything to haul it. Tim offered to haul it with his truck and trailer but the machine weights about 5900lb which was a little too much for his trailer so we ended up calling my dad out with his Dodge and the big gooseneck trailer. The shop we were picking it up from didn’t have a forklift so I ended up renting one and drove it over to the shop, loaded it on the trailer then drove it back.
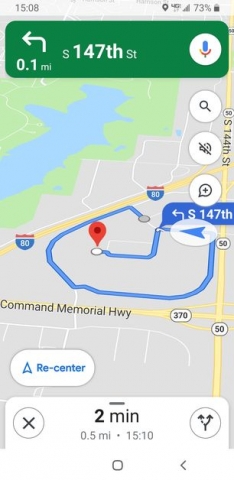
It was a little nerve racking driving a forklift down 144th St. Google took me on the most circuitous route possible through the business park but I eventually got there.
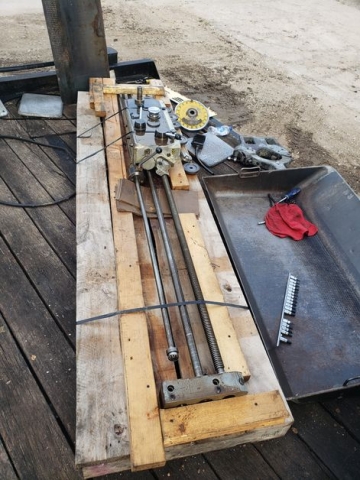
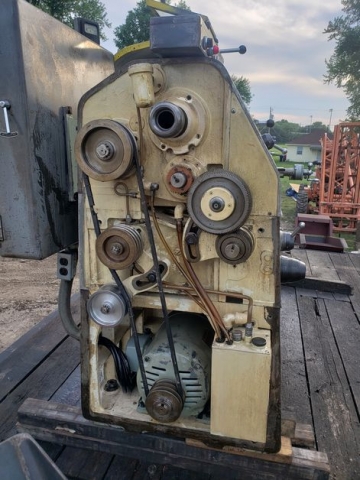
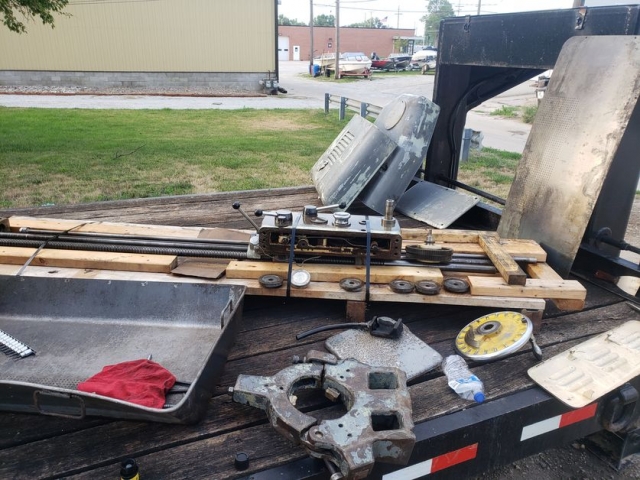
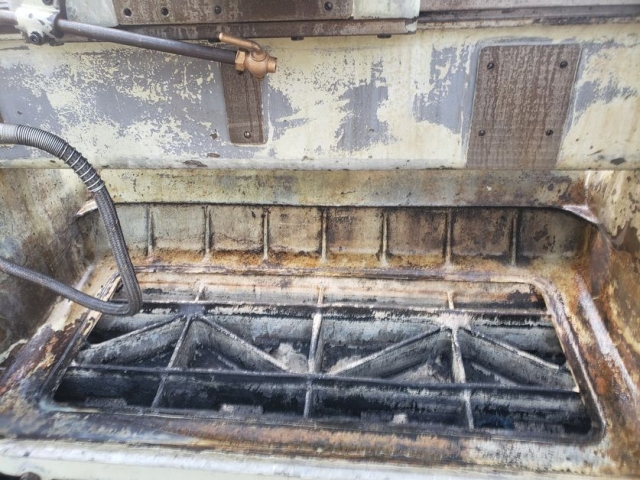
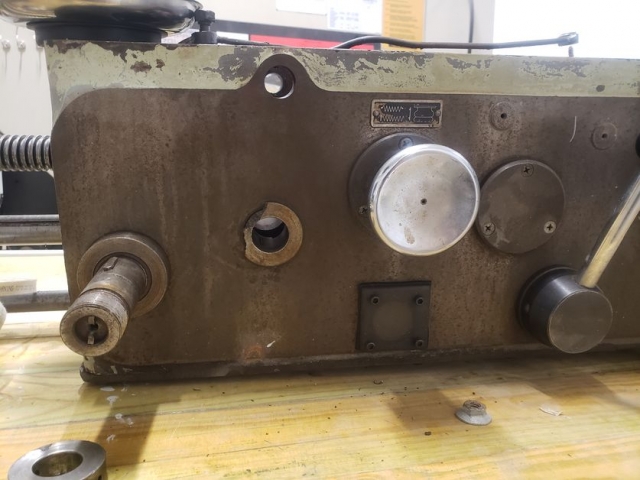
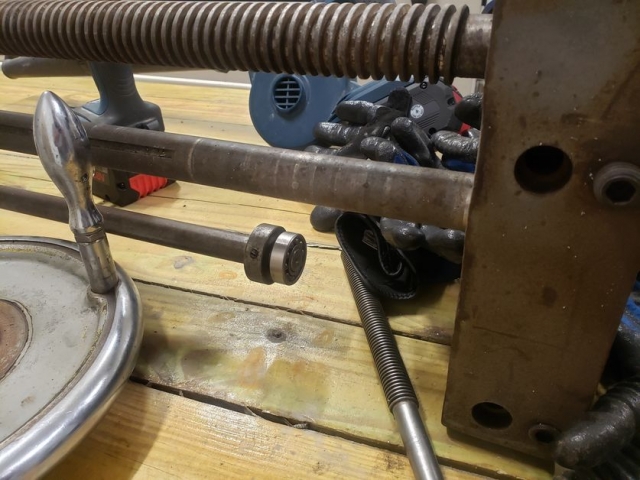
It was filthy. The apron was torn apart and off the machine. Step 1 pressure wash.
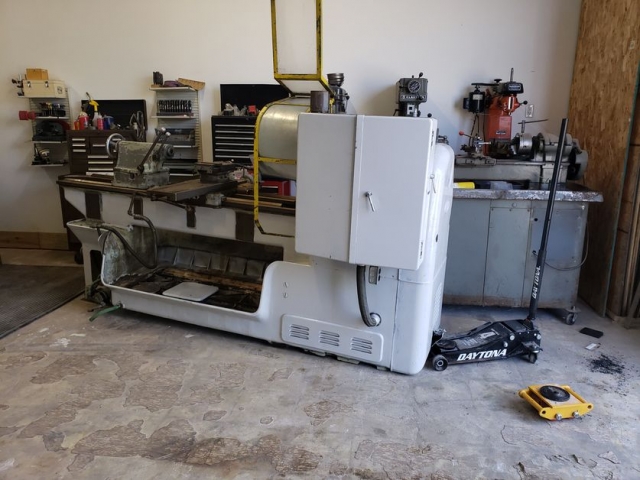
I enlisted my sister in law Katie to paint it while it was still on the trailer then hauled it inside. This was of course not a good time to deal with this machine. I had 60 yards of concrete coming and I had to install all the tubing for the radiant heating system, rebar, etc. before the concrete guys showed up. I had no place to store it or work on it so I wrapped a tarp around it and stuffed it in the corner.
Repairing the Apron
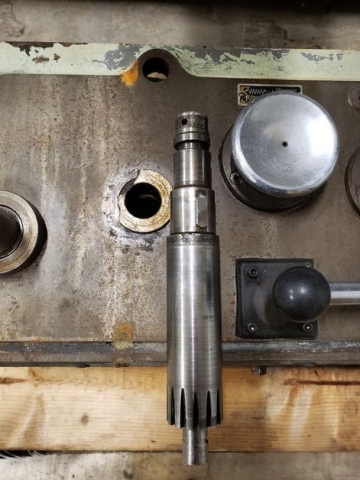
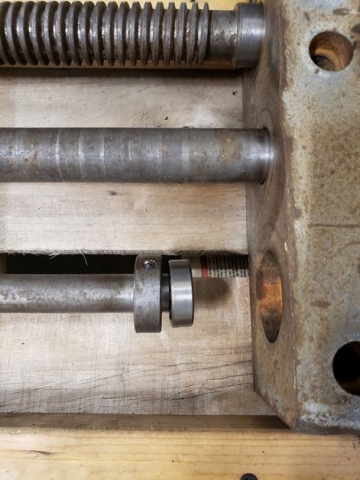
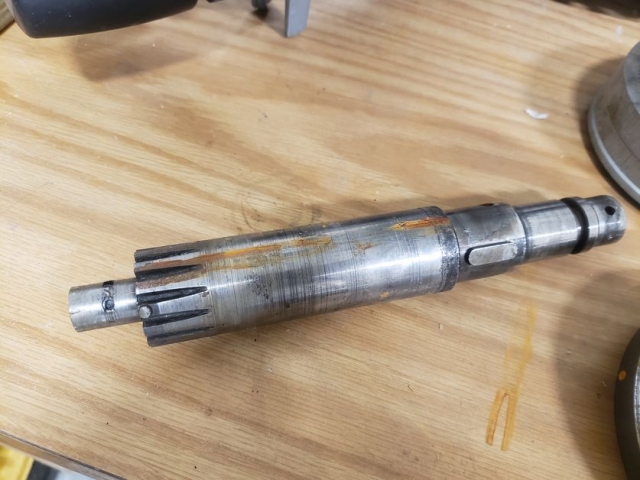
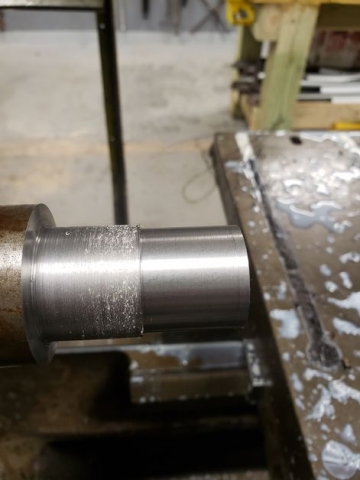
Fast forward a few months and the concrete is done. I had to play musical materials before I could clear the space for it’s final location and hook it up. Tim was able to get the manual which was critical for repairing it. It’s from the 1960’s and Okuma still has parts for it but they want a fortune. I found a seller in Canada who had a rebuild kit for $600. I was able to get belts and fluid from Napa and bearings and bushings from McMasterCarr. The apron drive gear had a sheared pin and it was clear it had been welded and sleeved in the past. I decided to build up a new weld and turn it down on my SouthBend lathe. The fit with the gear was now tight but it sheered the roll pin shortly after assembly. I decided to just weld the gear on shaft and instead replaced the drive shaft sheer pin with a Grade 2 bolt so this bolt will sheer instead of the apron drive gear.
There is a combination of settings that will shear the pin off otherwise it’s working perfectly. The shaft is open and replacing this pin is very easy. There is probably something worn in the apron and I will likely need to rebuild it in the future.
Make some chips!
Coolant Pump
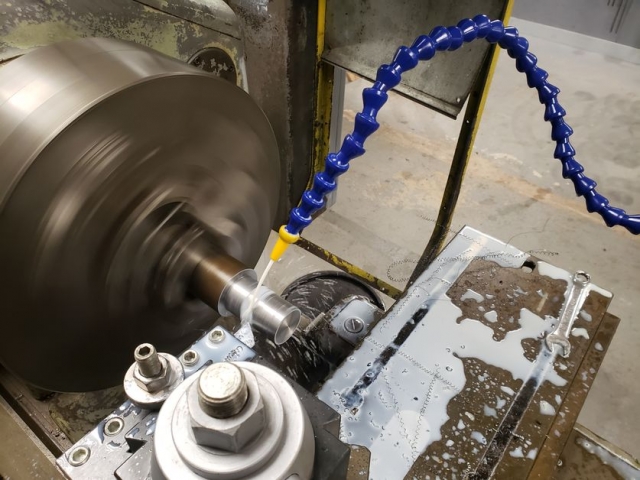
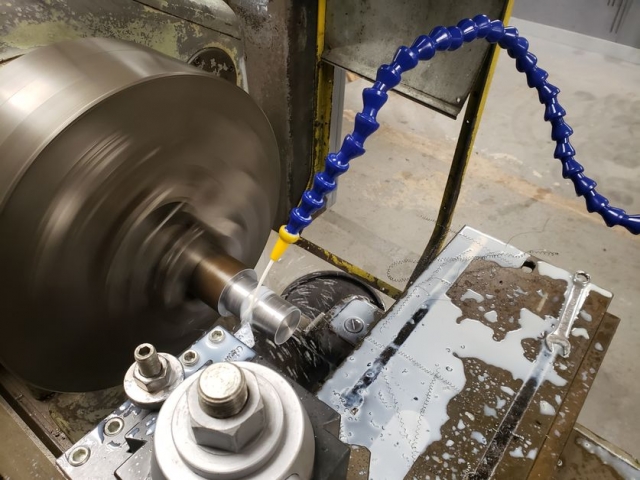
Unsurprisingly the coolant pump was burned up. I decided to try a low cost pump from Amazon rather than spending hundreds on a proper pump. I also picked up a clear filter so I can see the coolant going into the pump. I decided to keep the existing braided hose and plumbing on the cross slide but it was plugged solid with chips and it took some effort to clean out. I also bought some new Loc Line hoses and fittings and installed a valve to meter the flow. It can be a torrent of coolant and it makes an awful mess but it’s amazing how big of a difference it makes.
Paint and label restoration
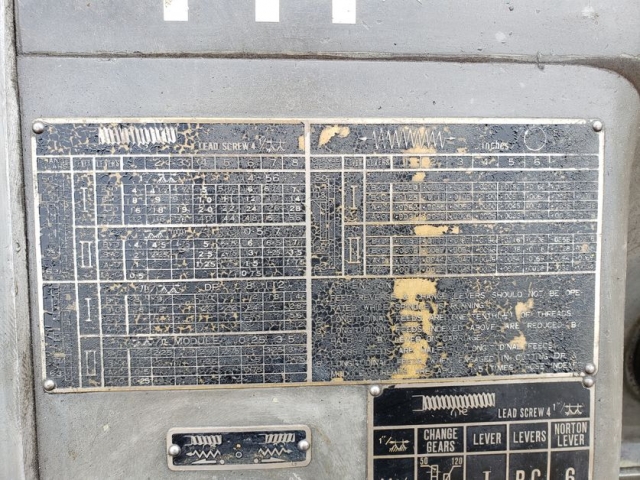
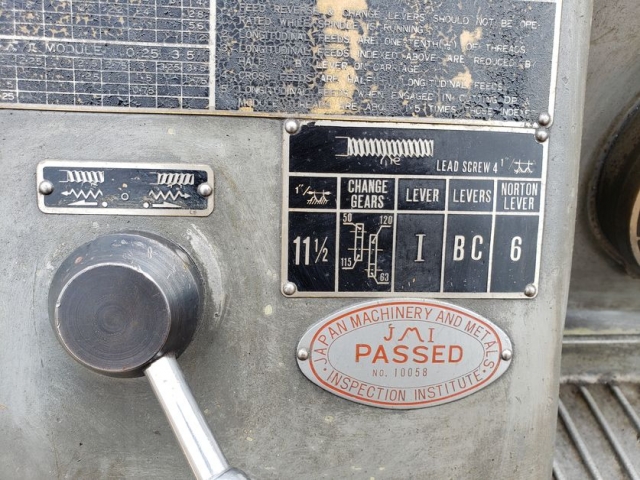
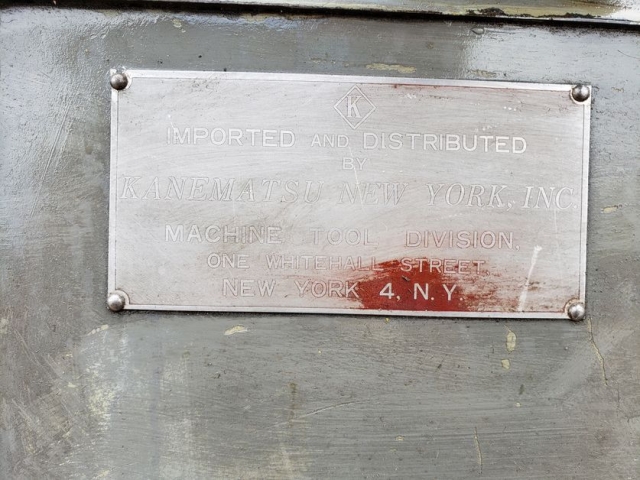
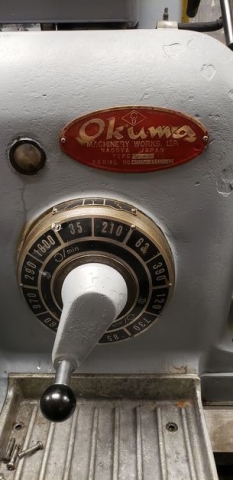
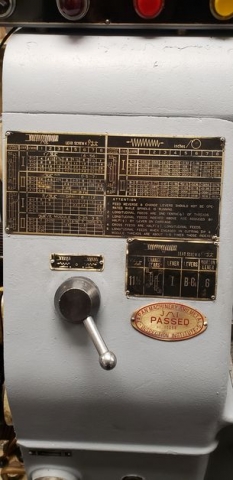
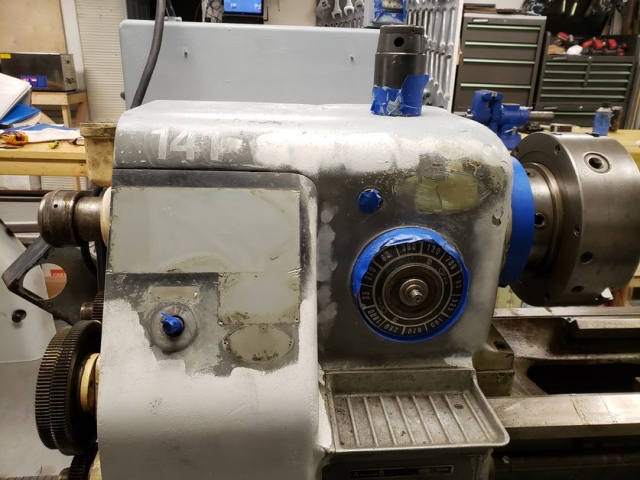
It really needs to be completely torn down for a proper painting but I decided to give a good once over and restore the labels. I used battleship grey floor paint. I used this in the building and found it to be inexpensive, oil resistant and very durable.
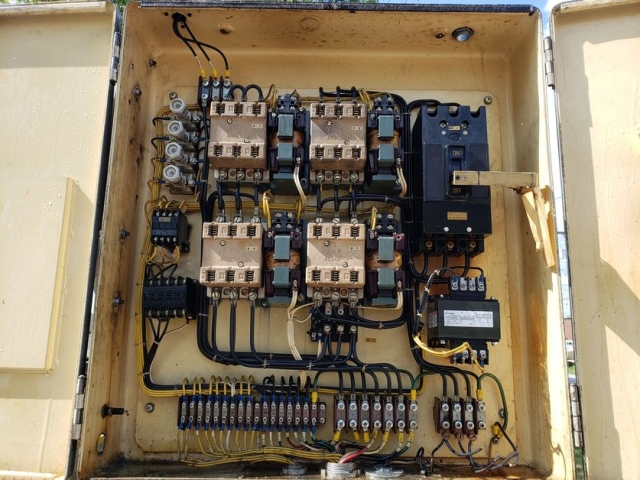
Electrical System
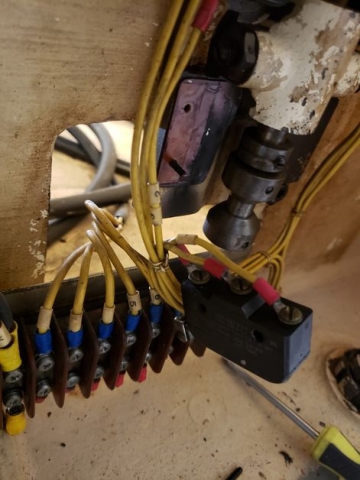
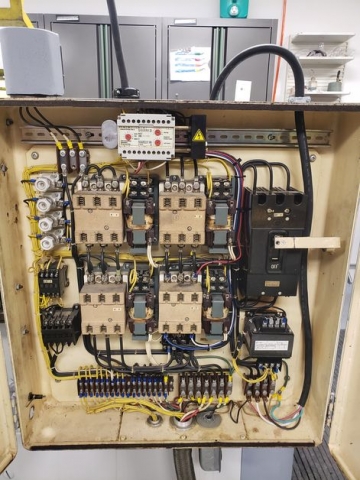
The original electrical control system was still working which is amazing considering the age. I did have a limit switch break on me but that was my fault and I was able to find one on Amazon.
VFD
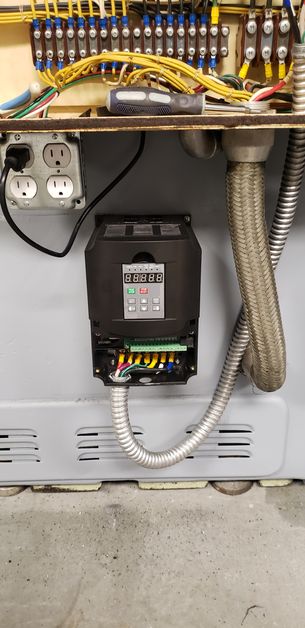
I purchased a Chinese 7.5kW 10HP VFD off ebay for $200.
Digital Read Out (DRO)
I bought a 3 Axis magnetic scale DRO off ebay for $620. It came with an RPM sensor and an LCD panel that looks really nice. Most lathes are 2 axis but it wasn’t much more for the small scale needed for the compound so I figured why not. This is probably the best upgrade on this machine yet.
To Do List
- Fabricate and install covers for the magnetic DRO scales
- Finish installation of VFD
- Install mechanical brake on the motor shaft
- Fix apron at some point
- Extend the splatter shield or relocate it to the carriage
