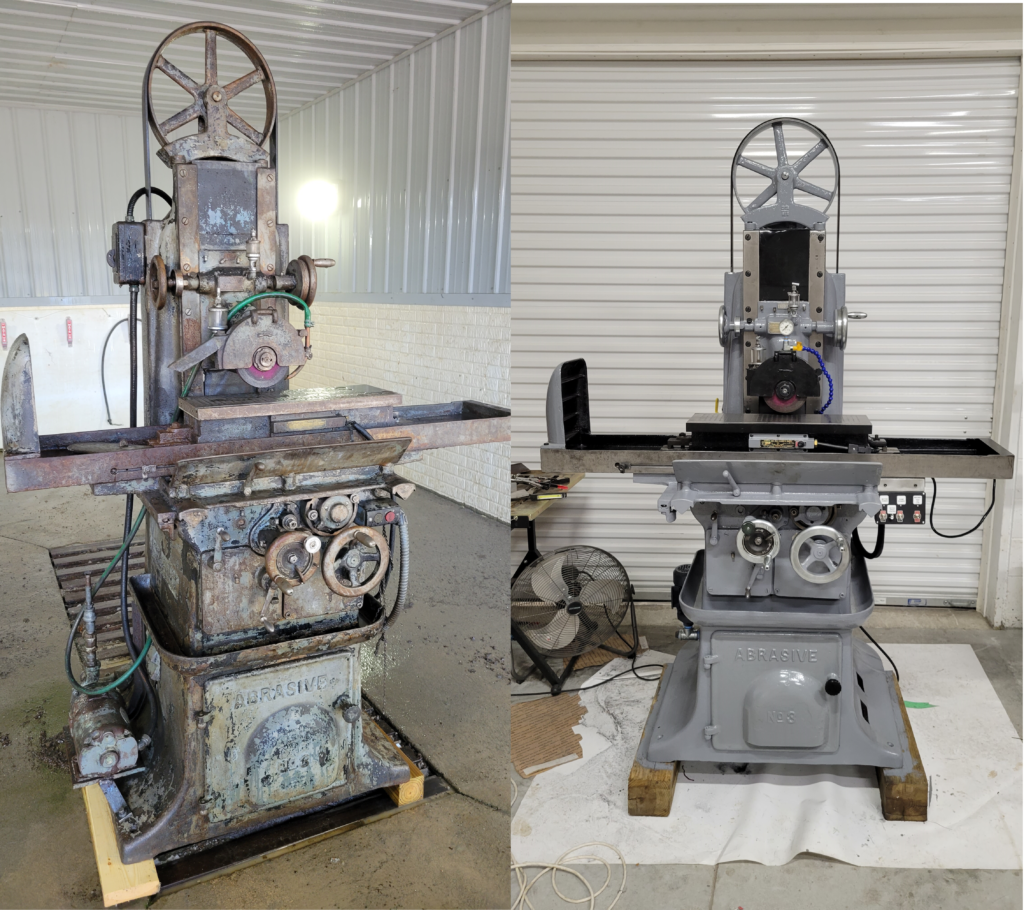
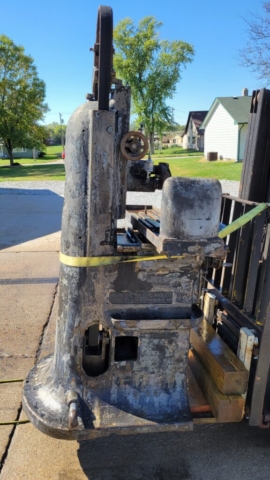
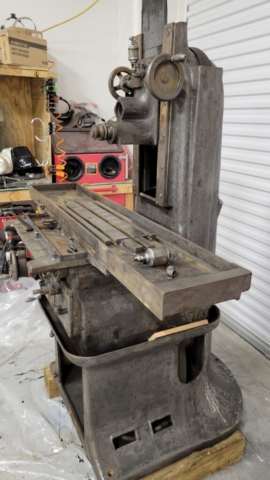
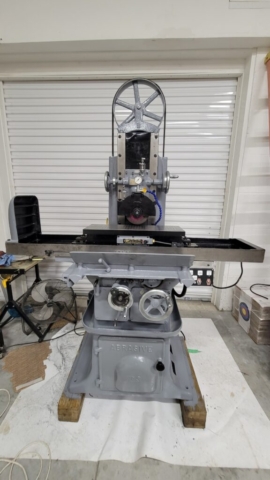
1920’s Abrasive Machine Tool Surface Grinder No.3
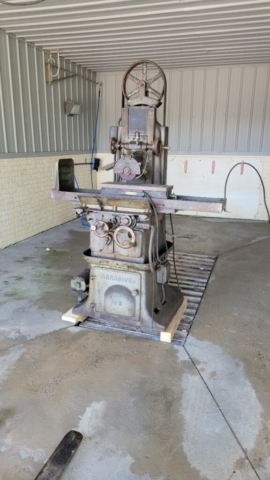
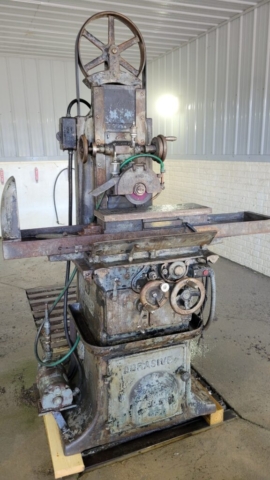
I bought this surface grinder on September 2, 2021 from a private machine shop in Bennington Nebraska where the elderly owner had passed away. It was in working condition but needed some love.
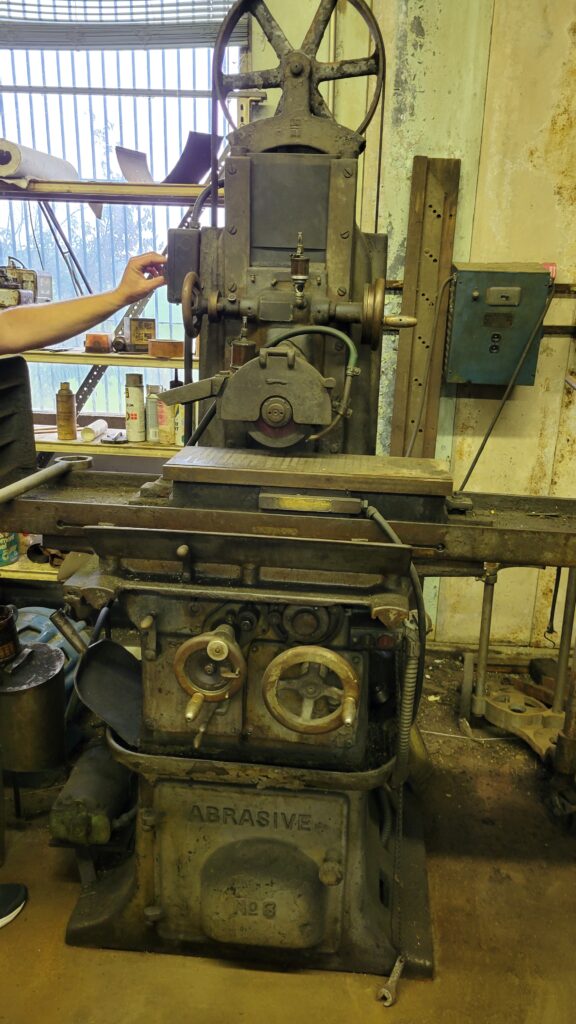
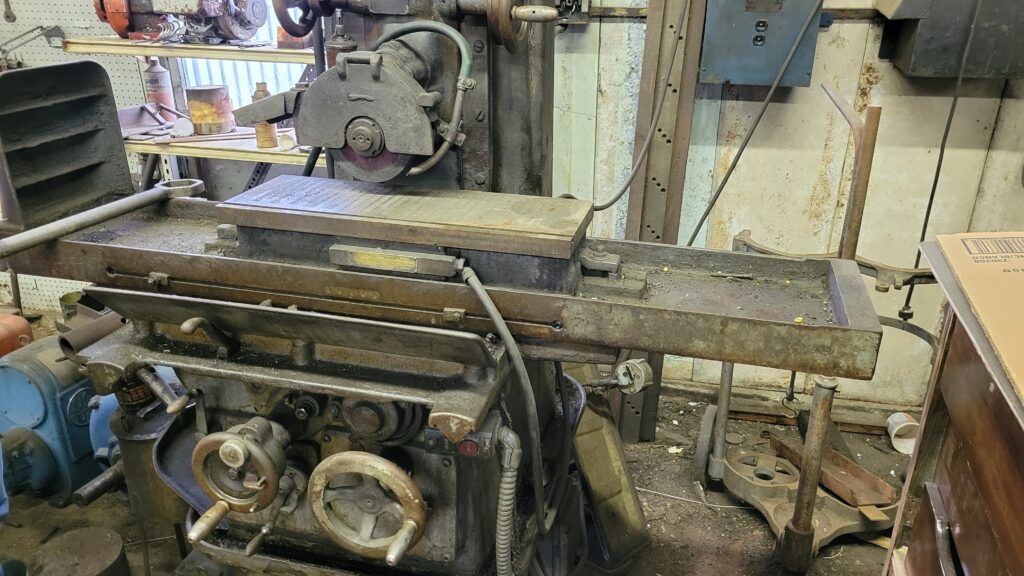
This is a video of it running before I purchased it. The seller ran through the basic operations.
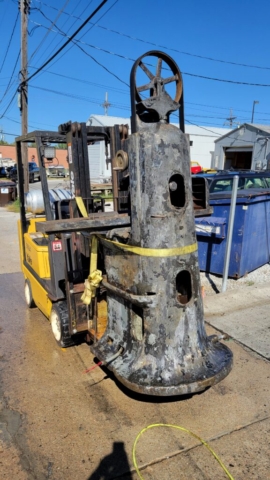
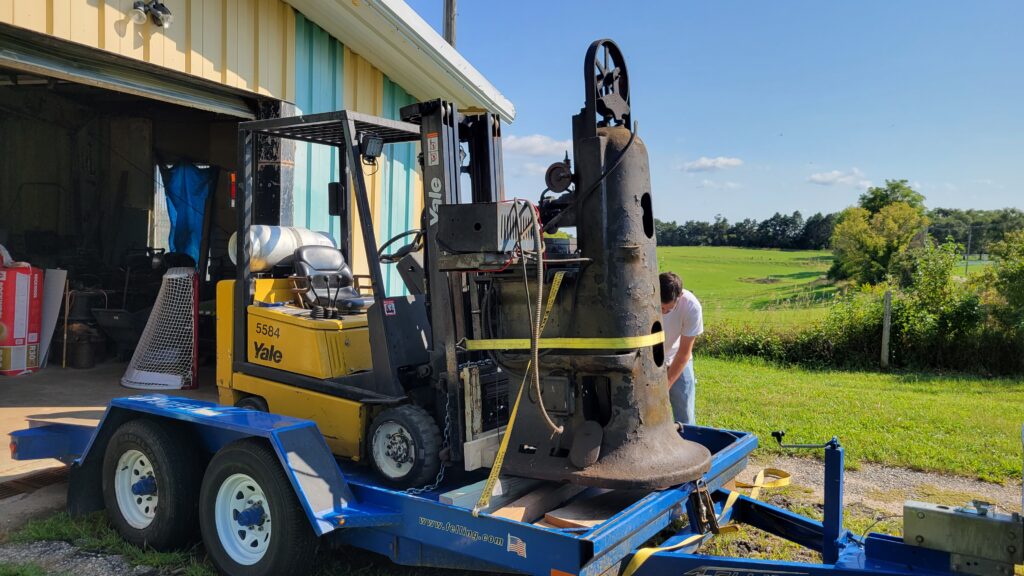
We packed it up and took it home. I first stopped by the car wash and gave it a good hose down before unloading it in the shop.
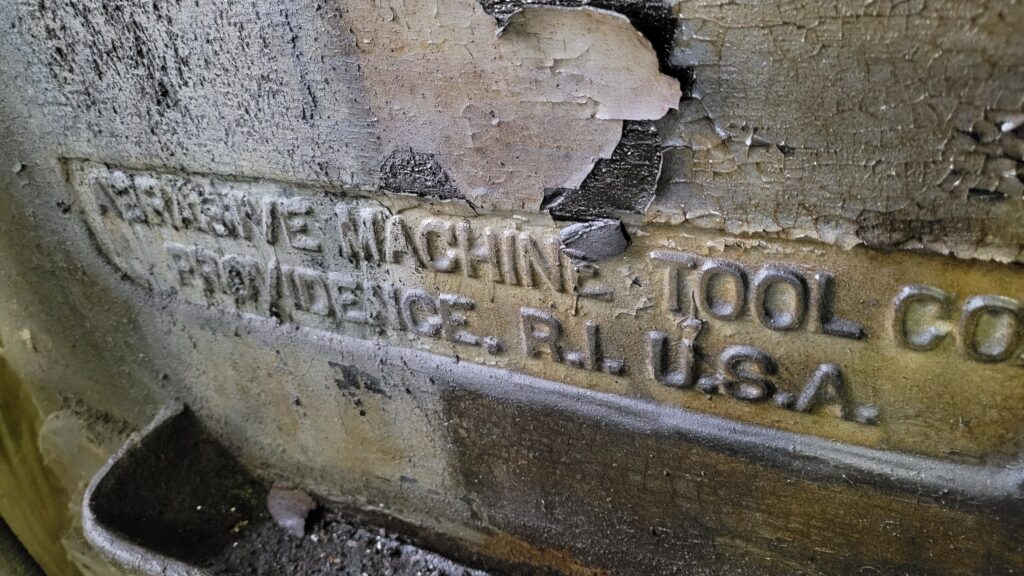
The next process was to start tearing it down to clean it up. It was covered in a substance that looked like painted tar. I’m guessing they used tar to smooth out the casting back then? Anyway it was a nightmare to get off until I bought a needle scaler. Best $50 I’ve ever spent. That little tool effortlessly chipped off all the paint and tar even between the lettering in the casting without damaging it.
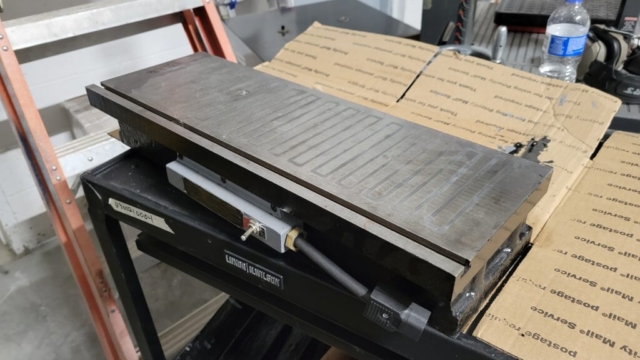
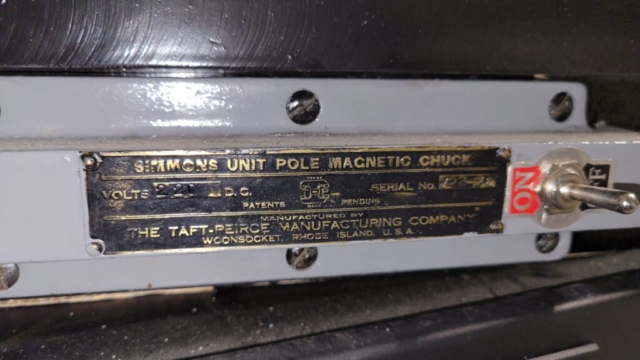
I started with the magnetic chuck which weighs around 150lbs. I tore it down, stripped the paint and added a toggle switch which I now regret. I thought it would be nice to have a switch at the top but I added one to the control panel so it’s redundant. I can always body putty (Bondo) the hole and repaint it later. I love body putty plus it smells so good.
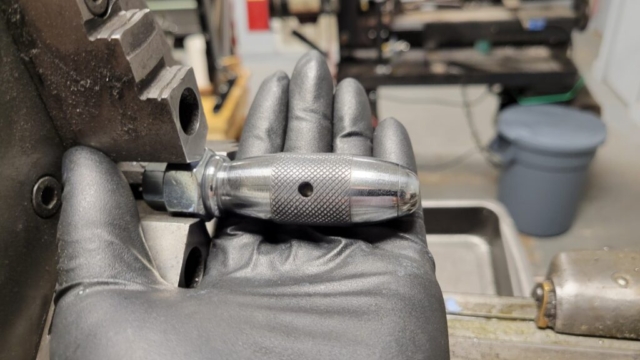
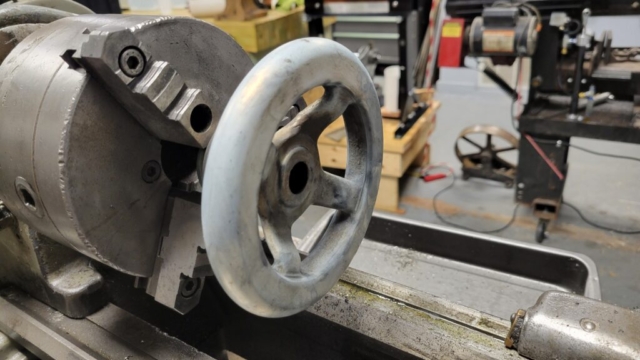
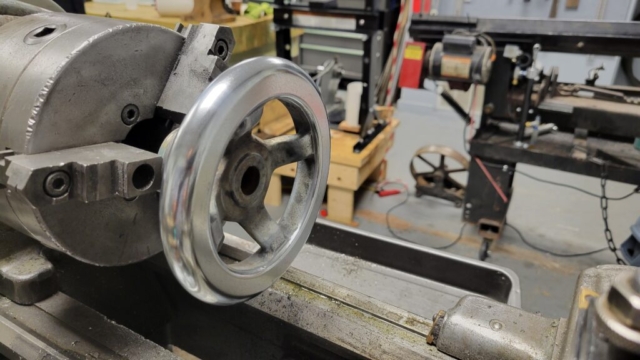
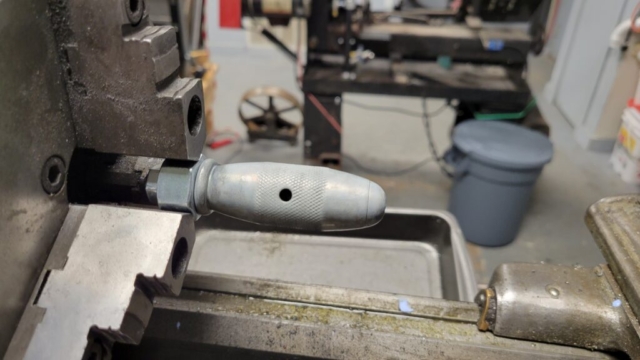
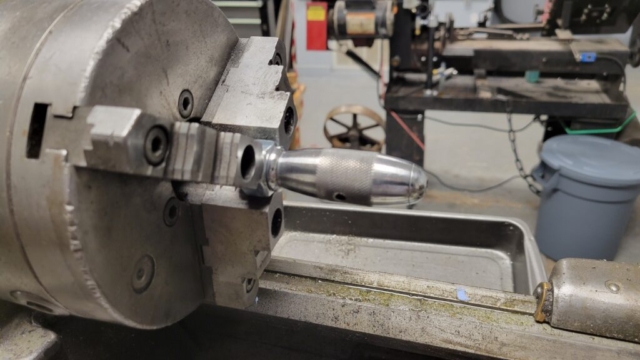
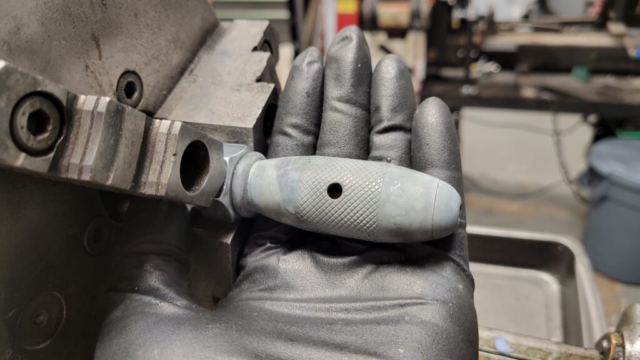
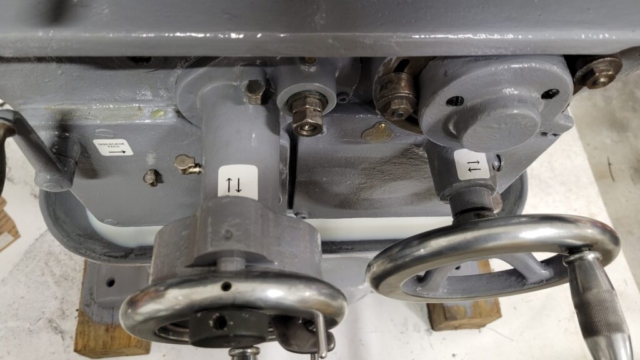
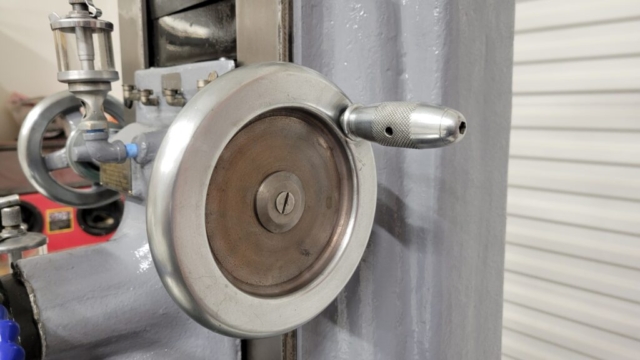
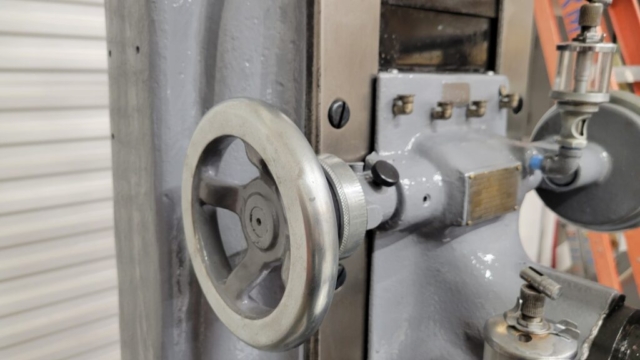
The handles were rusty and the plating was long worn off. I wanted to restore the plating so I setup a platting bath. I first tried nickel but it was slow and the finish wouldn’t stay shiny. I then switched to Zinc which was perfect. It plates very fast with thick and even coverage. I chucked the parts in the lathe and slow polished them.
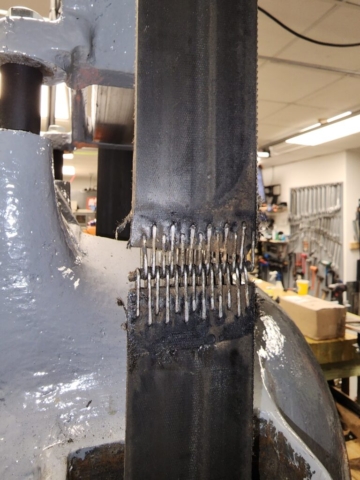
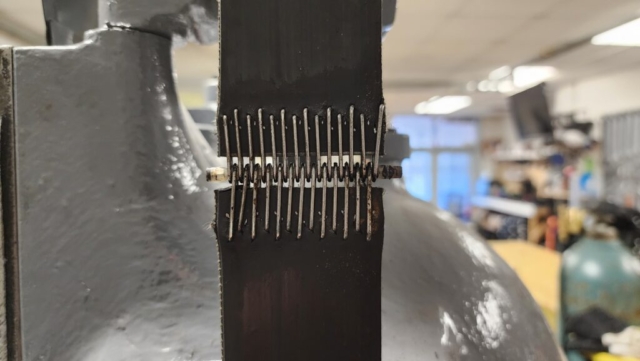
The belt was stretched so I was thinking about adding some blocks to the top pulley to extend it but my buddy Jake has experience relacing conveyor belts so I took it to him. He masterfully cut it down and replaced the belt. I had no idea they were held together by a little plastic coated wire that digs into the lacing over time. Thanks again Jake!
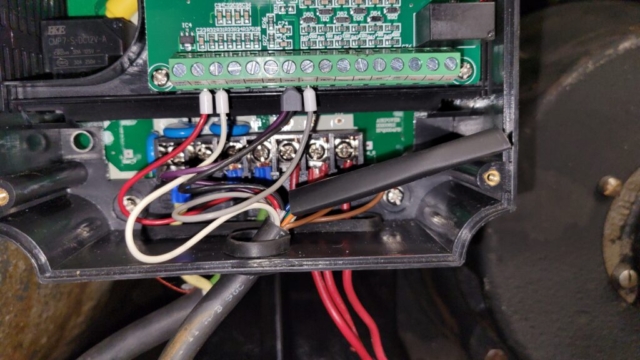
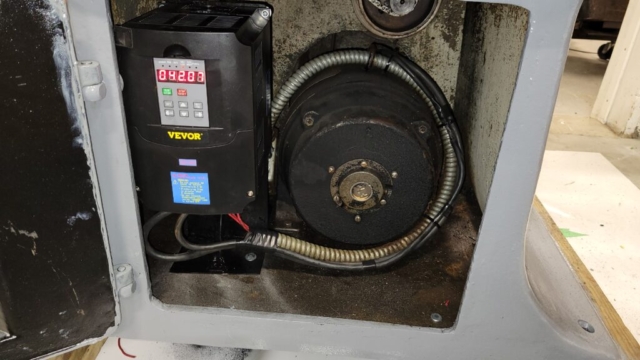
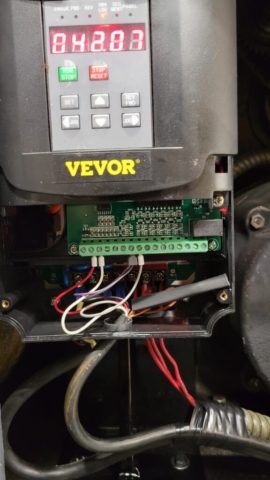
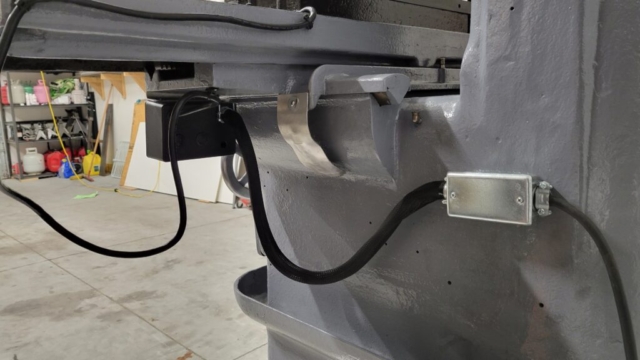
Next I wired in a VFD. I have 3 Phase in the shop but I love these single phase to 3 phase VFD’s.
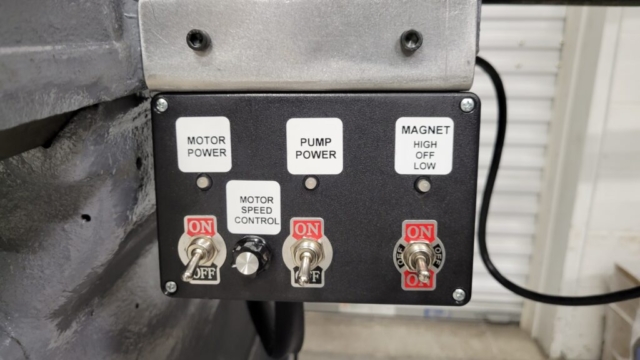
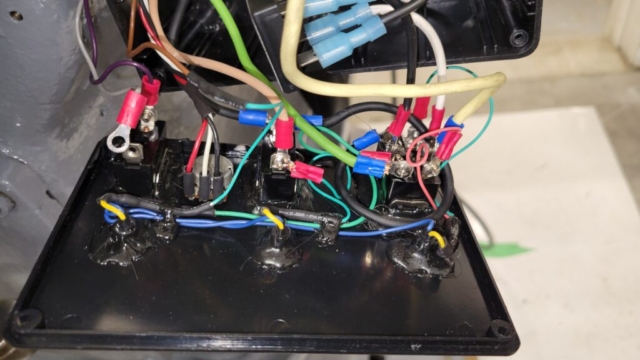
I planned to make a nice controller for it but I decided to make something simple and reliable together for now.
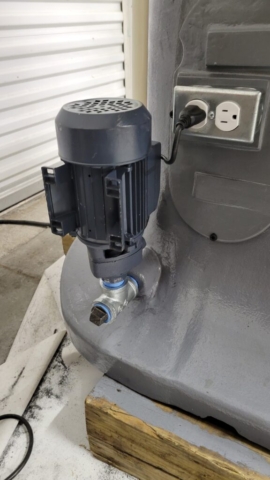
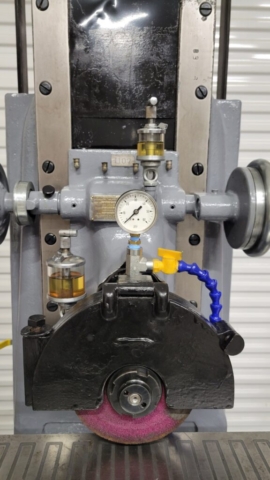
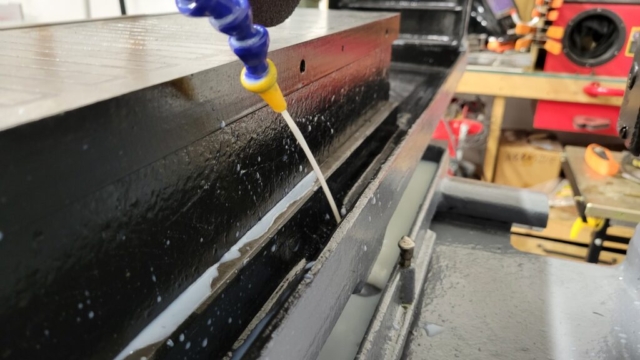
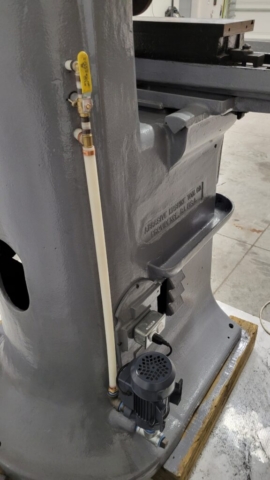
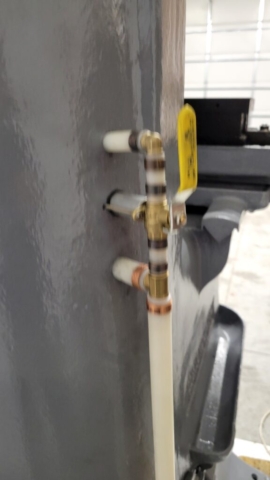
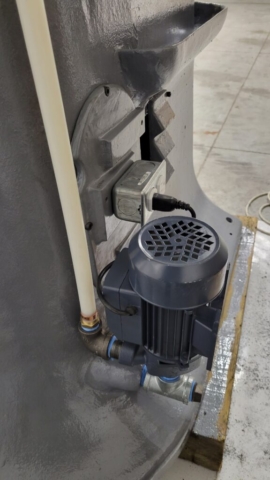
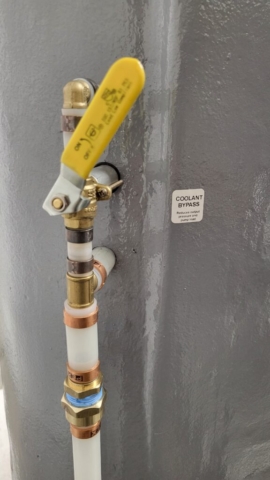
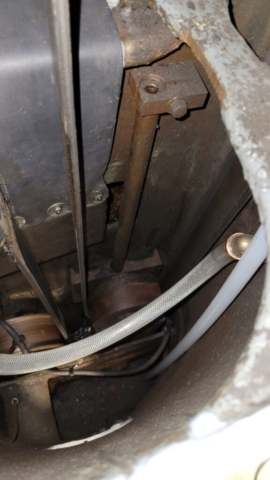
I added flood coolant which is a must in my opinion. I stumbled on these cheap pumps from amazon. $35 for a cast pump with a solid bronze impeller! I plumbed the pipes using pex tubing which is a new favorite of mine after the building construction. There’s an inline check valve to help keep the pump primed and a bypass valve to limit the flow rate to the spindle head. I also used the built in NPT fitting which was not previously connected. I thought maybe it leaked or something but I haven’t had issues with it. I did have to add some flexible hose so maybe that was a deal breaker back in the day as this came with hard copper lines.
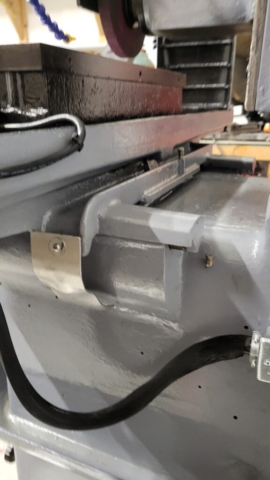
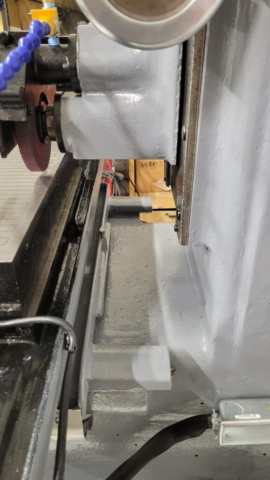
I also had to add some little gutters to keep the coolant from flowing on the floor. I still have rare situations where the coolant drains down the wires which is annoying but rare enough that I’ll try to ignore it for now.
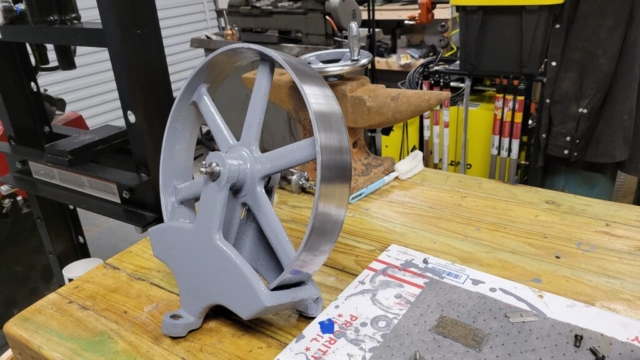
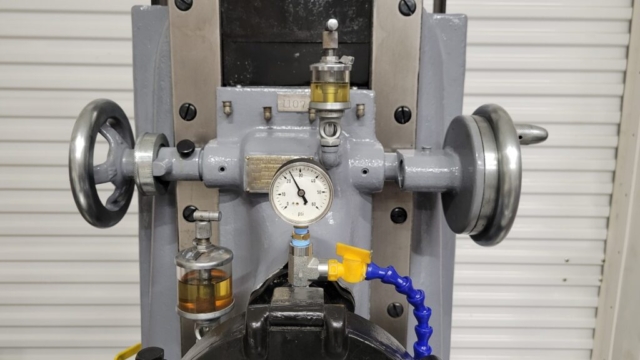
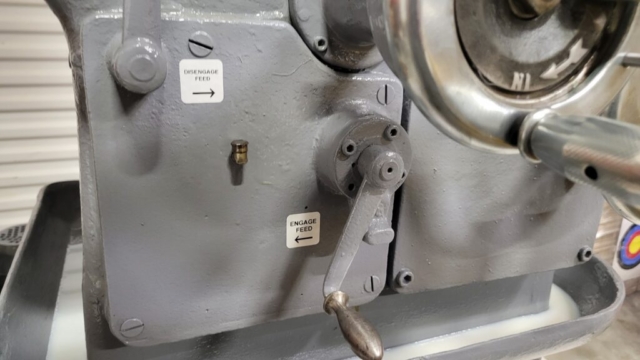
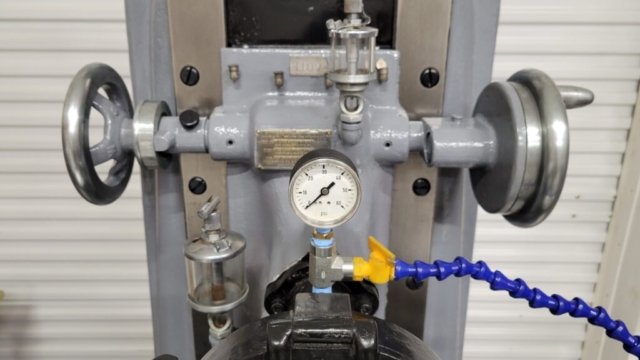
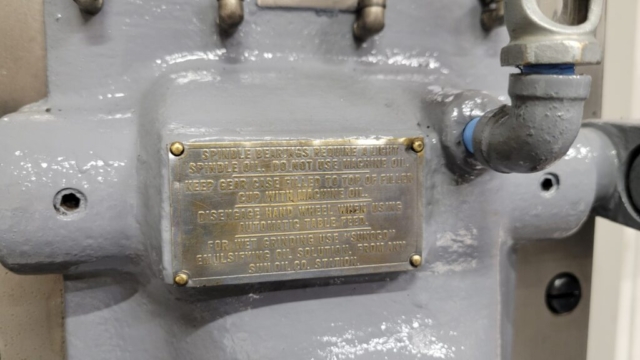
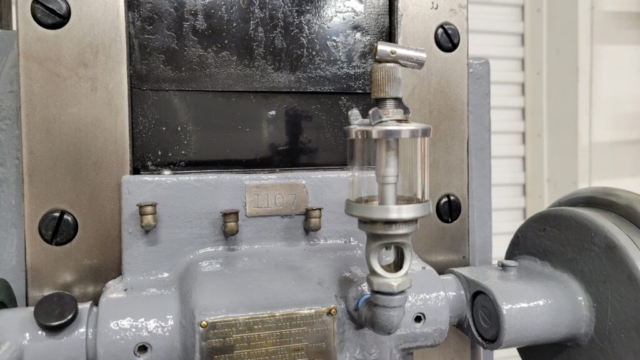
Some other close ups of handles and pieces. I used the same process to restore the original brass labels I used for the Okuma lathe.
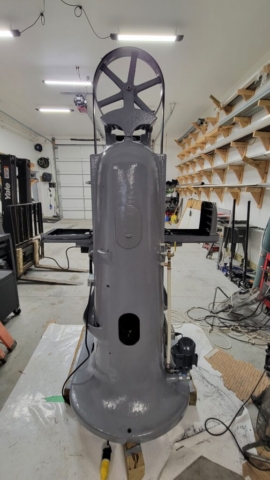
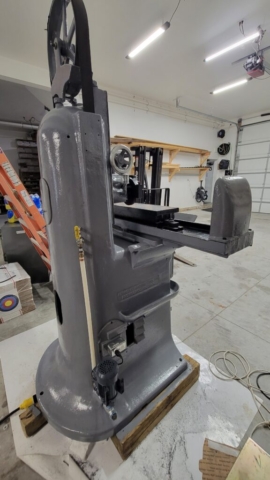
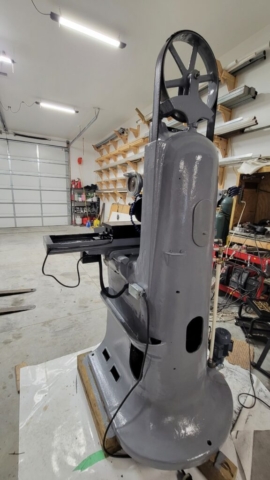
Overall pictures.
