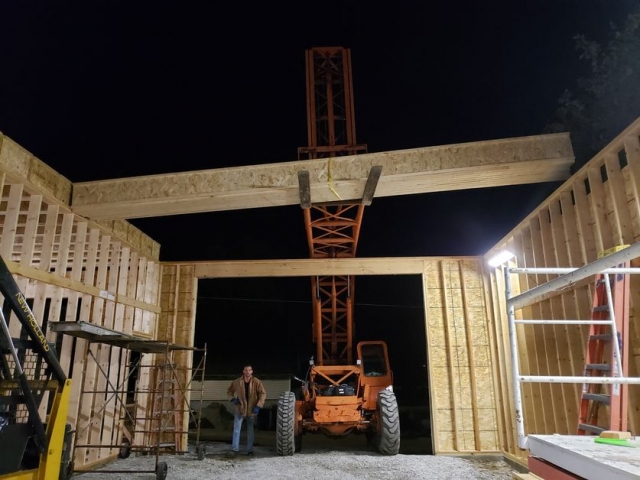
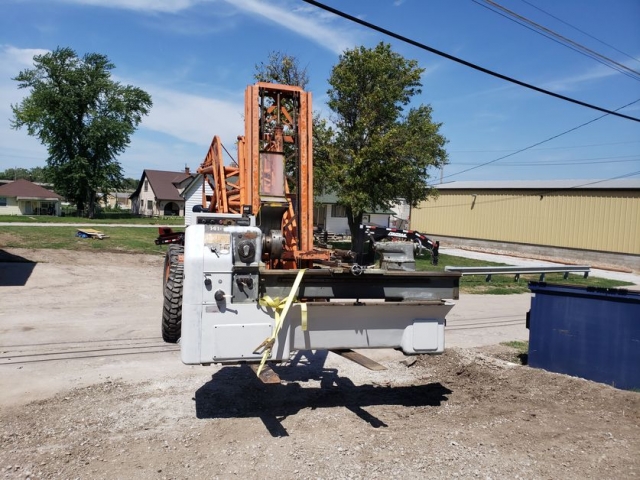
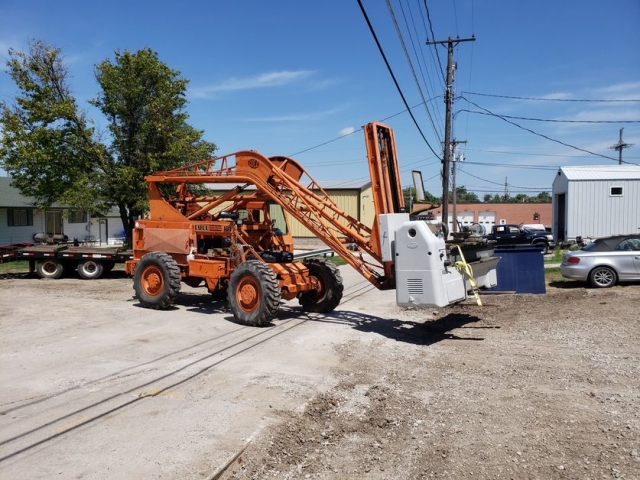
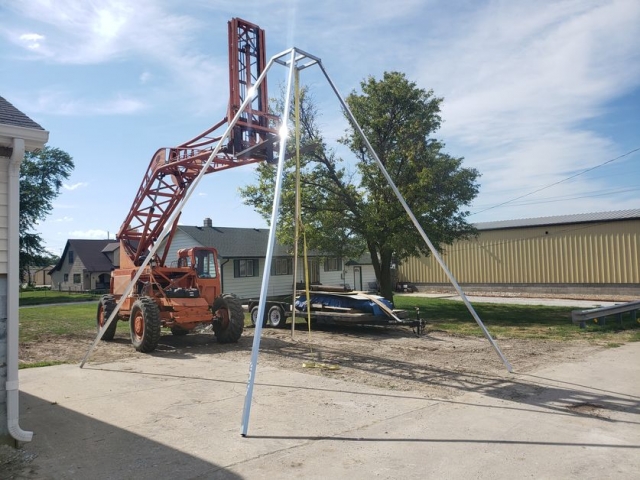
Lull 4D4 Telehandler
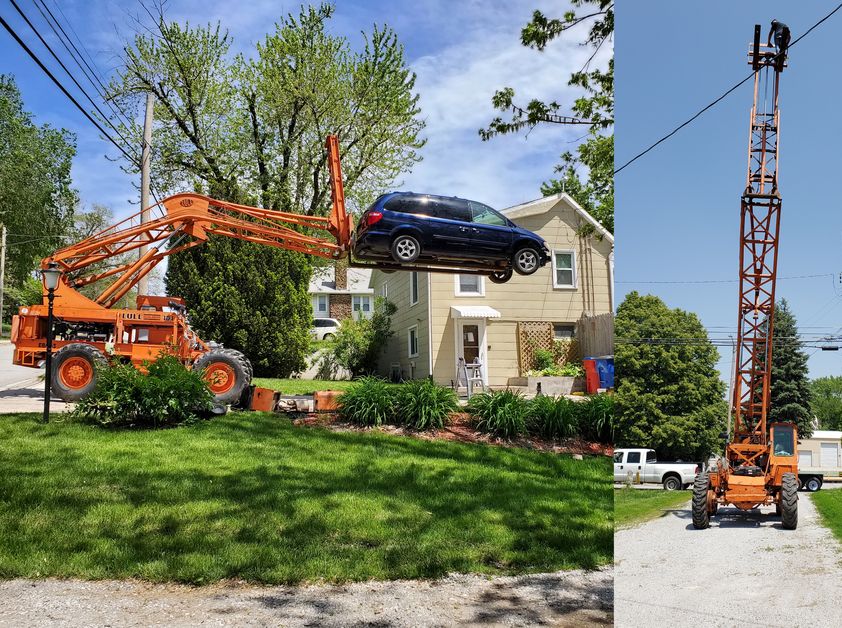
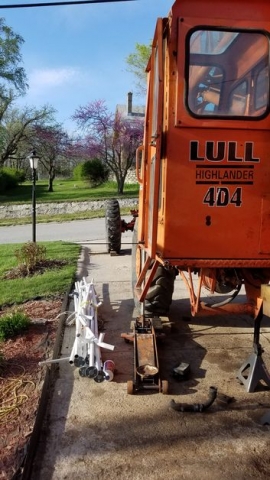
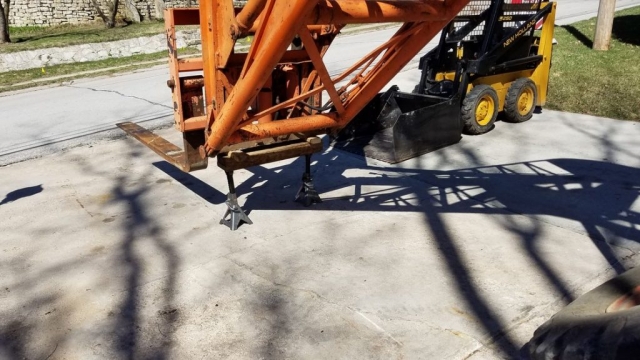
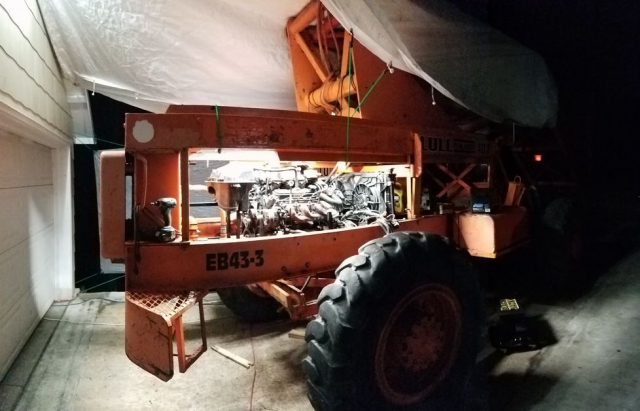
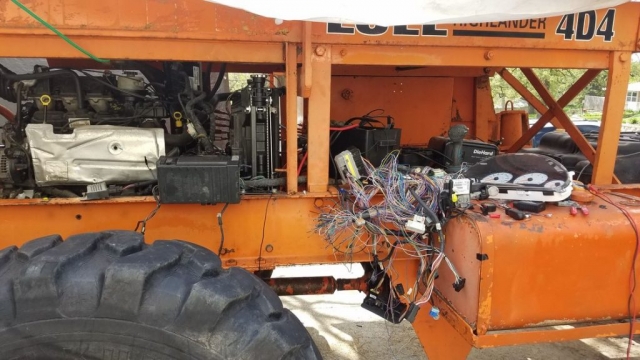
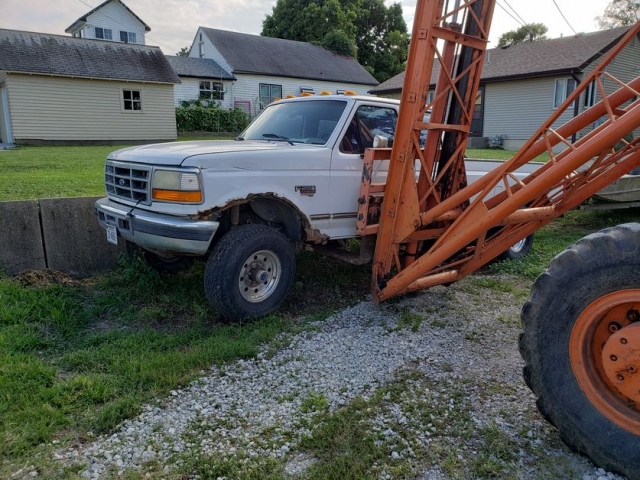
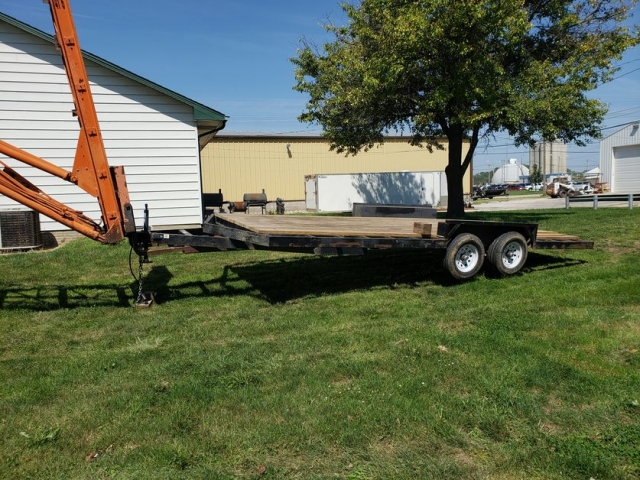
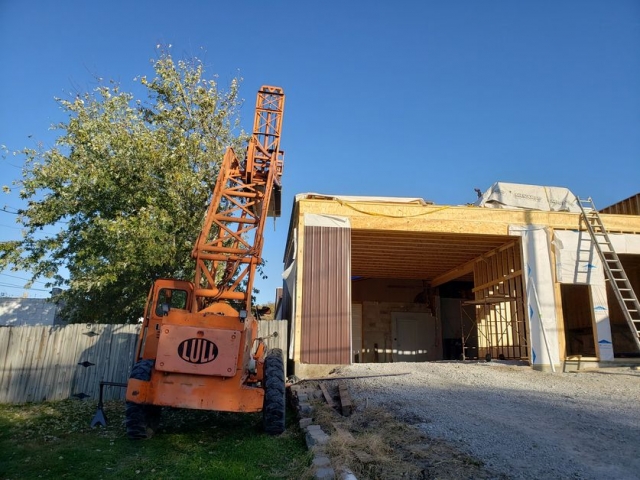
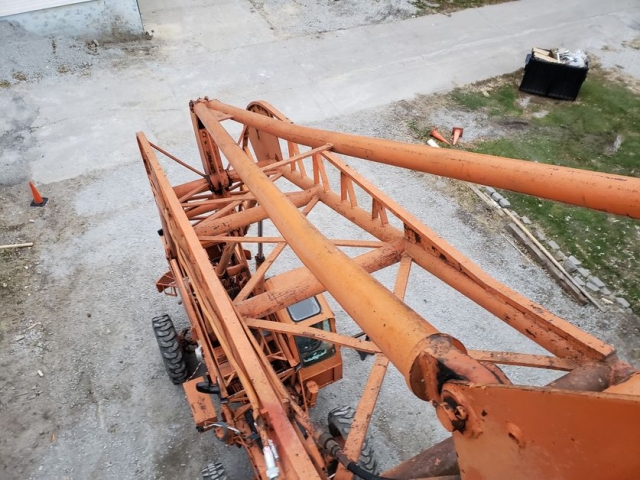
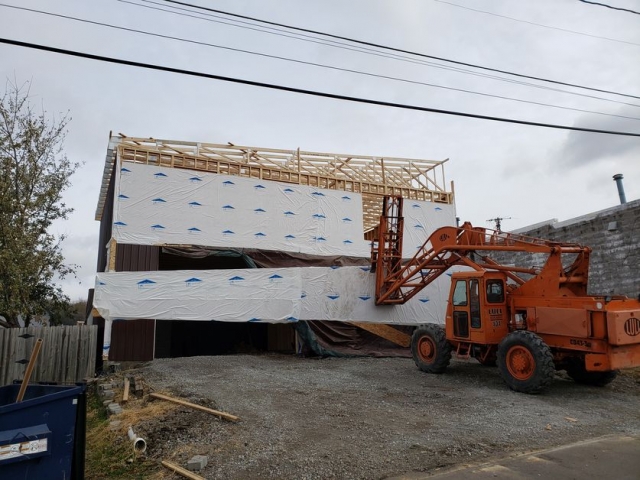
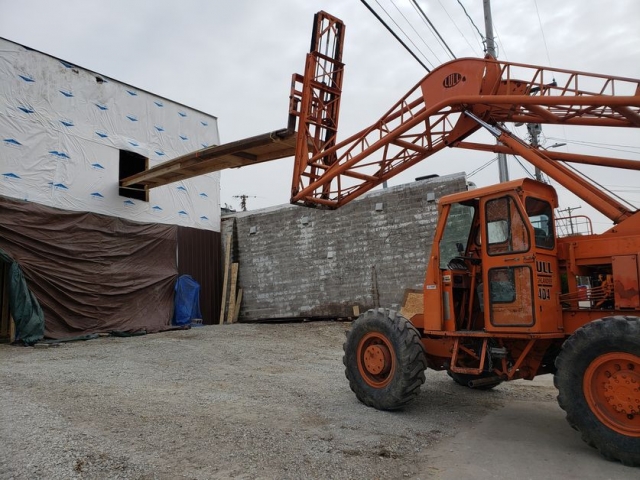
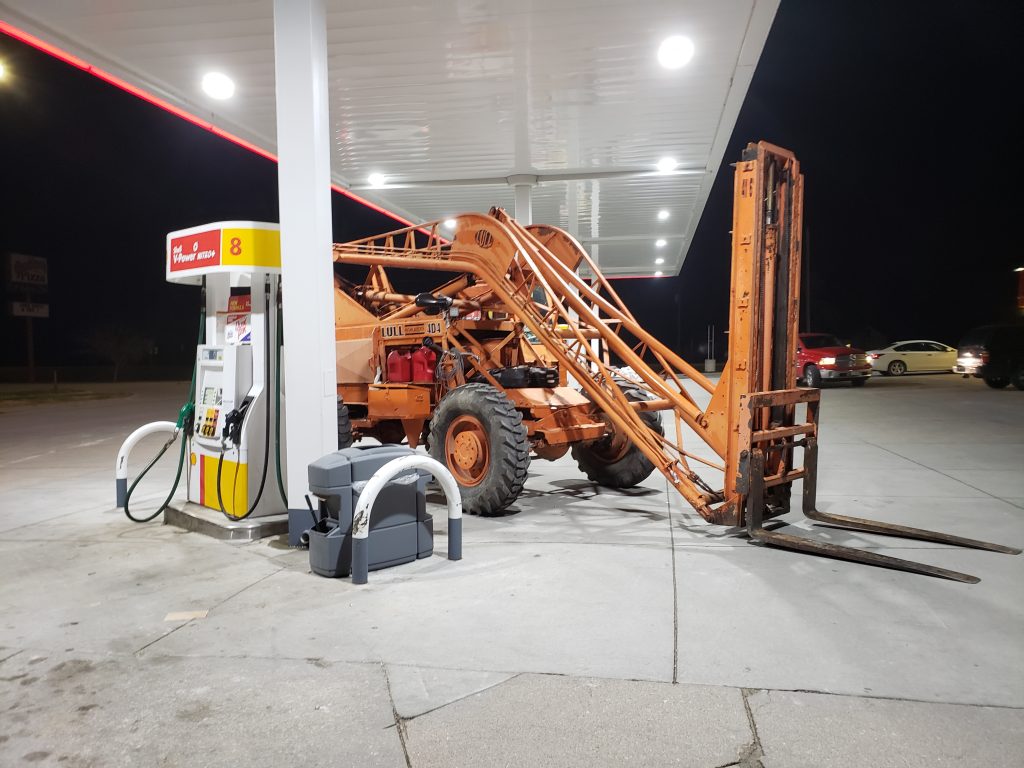
For the property renovations I needed a large machine that could lift at least 4000lb over 30′. in September 2018 I saw this old Lull 4D4 Telehandler on craigslist. It had all original equipment, everything worked however the engine was weak. It sat over the winter and spring 2019 I went to tune it up but it never ran again. There we several issues but the nail in the coffin was a cracked intake/exhaust manifold (both in one casting). Trying to find parts for the engine was difficult and I could only find limited and conflicting information on this model. I’m not sure what year it is but I suspect it’s around 1960’s. It was a 4 cylinder flat head that I believe was a Plymouth but I couldn’t exactly identify the engine and likely compatible parts were expensive if you could find them. Even though it’s on the side I couldn’t even find evidence a 4D4 model existed and it’s most likely a some flavor of a Model 400. Anyway fixing it was out and it was clear it needed a new engine.
- Year approx. 1960’s
- Rated 4000lb capacity
- Weight: 10 ton
- 4/2 Wheel Drive
- 4 wheel steer, crab steer
- Side to Side leveling
- 4′ boom horizontal travel
- Forklift carriage
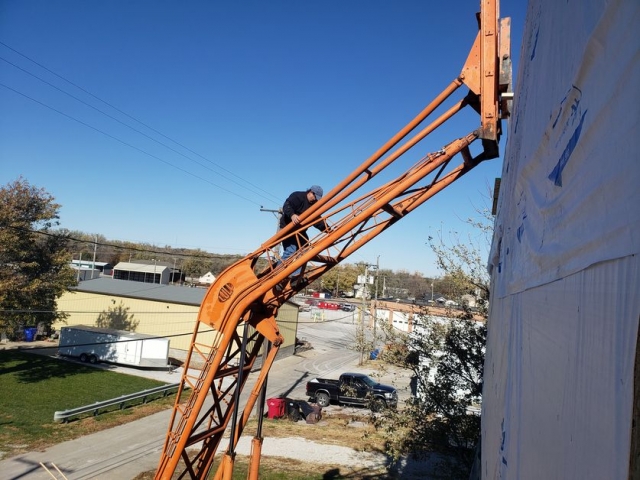
- Max lift height: 42’6″
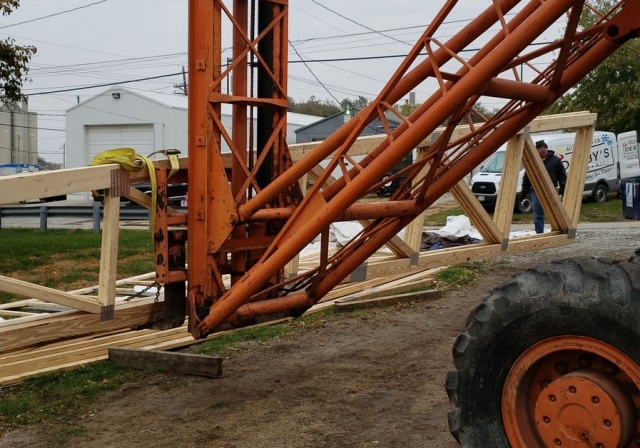
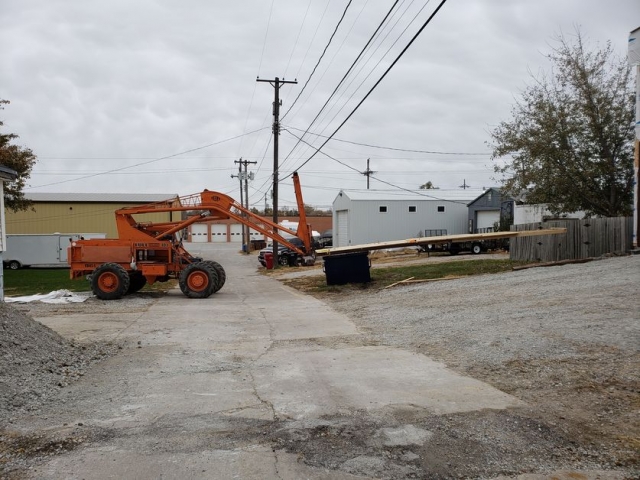
- 12′ 4″x8″ fork extenders
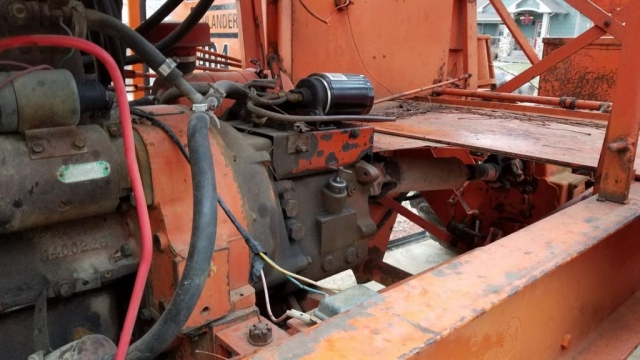
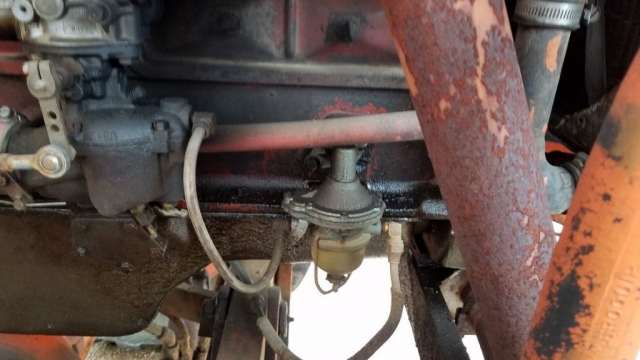
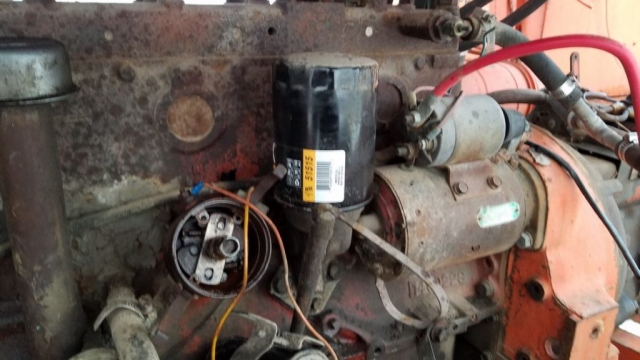
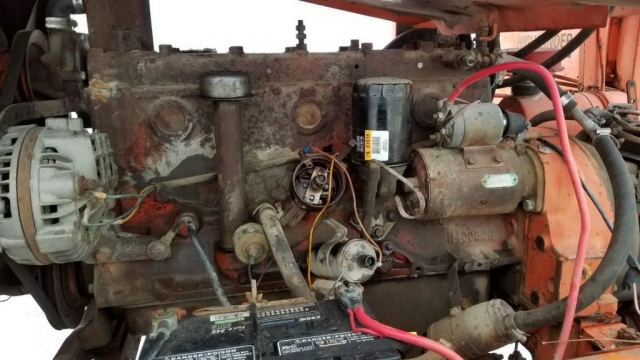
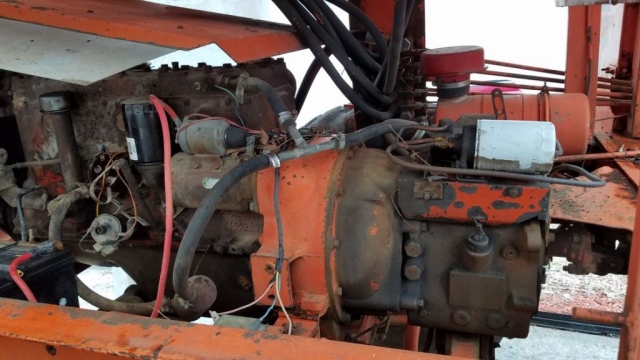
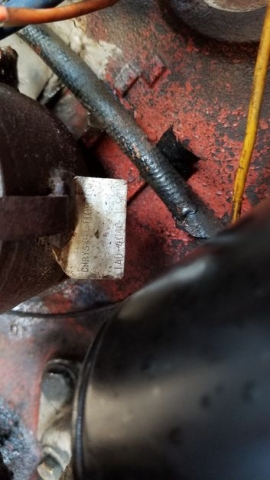
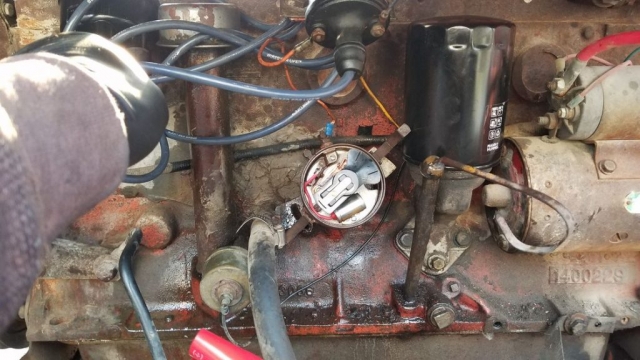
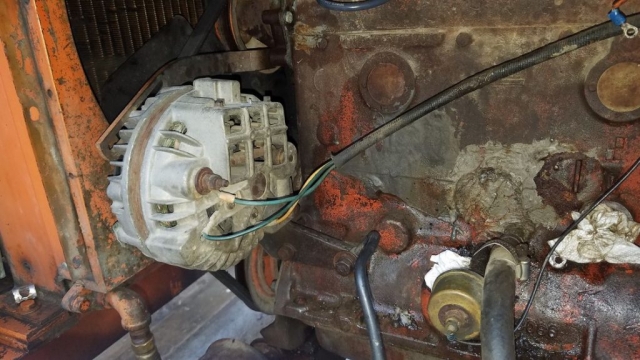
Old Engine
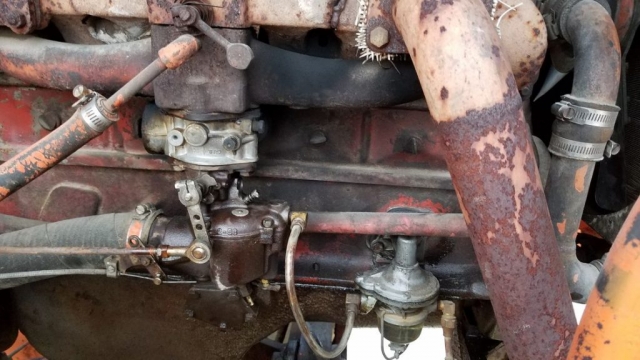
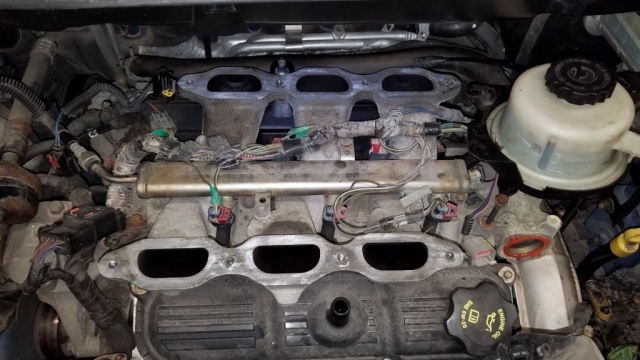
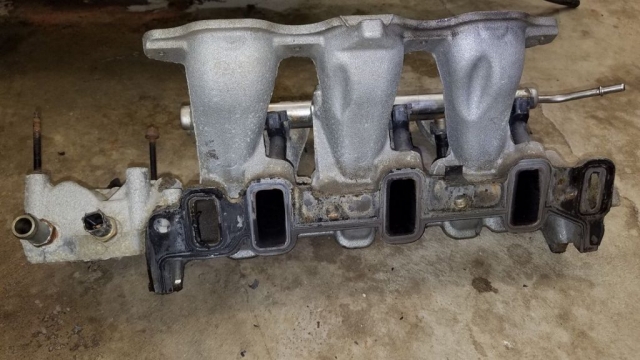
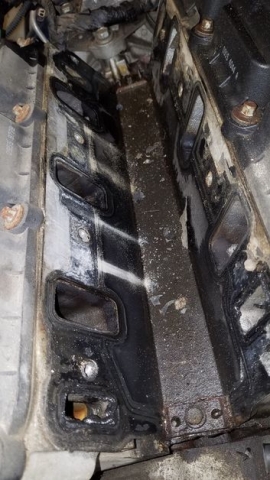
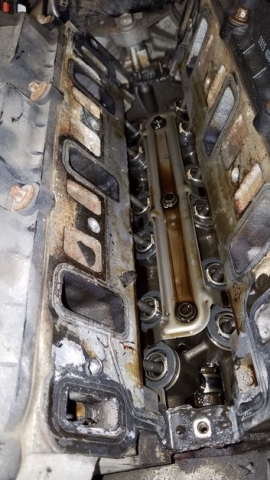
Some pics of the old engine. Distributor, points, capacitor, coil all the old school stuff. I did try to get it working before giving up.
New Engine… The Mashing
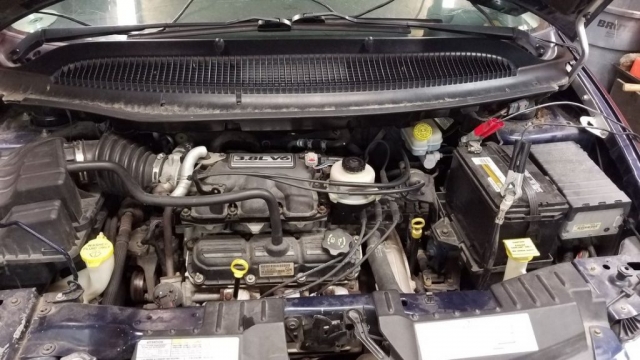
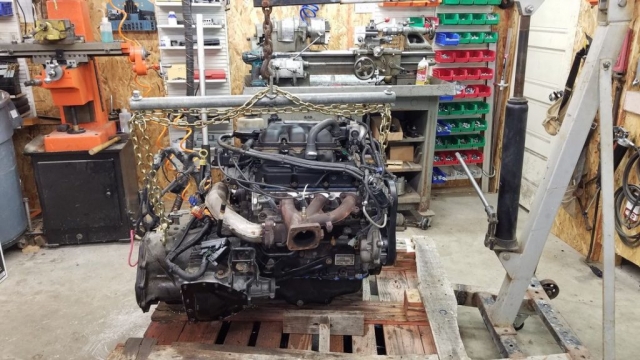
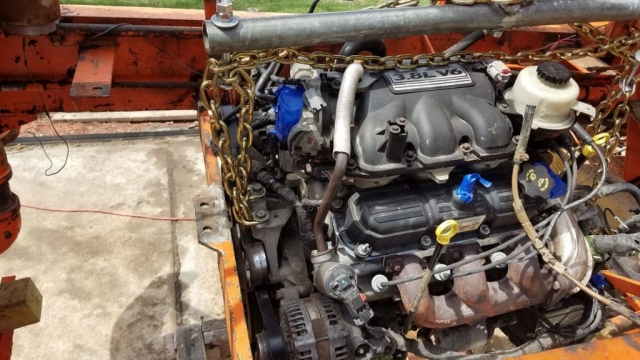
For it’s age the Lull in mostly in great condition so it seemed worth while to put the time and money into a new engine but what to use? I looked for similar engines that would mate to the existing transmission but again it was most likely going to need an adapter plate and a lot of fabrication no matter what I went with. At the time I had a 2005 Chrysler Town and Country that I had a lot of experience working on. I decided to buy another 2005 so I would have spare parts for my van and have a working model to reference later on when I was trying to get everything working (foreshadowing). I found a 2005 Dodge Caravan from a guy in Lincoln who said it was his teenage son’s and he’s been trying to soup it up and he blew the head gasket and a cracked radiator. The van had 125k miles but given my other van has 265k and is still running strong I was confident it would last. I was sure the head gasket was fine and it would be an easy fix and a steal for $500. I’ve talked about doing this for years with my buddies on one project or another but everyone get’s afraid of the electronics and say it’s too complicated. I didn’t see that being an issue if you take the entire system or required parts of the system to the new vehicle. Other than a few hiccups this ended up working really well and was honestly much easier to diagnose than the old engine.
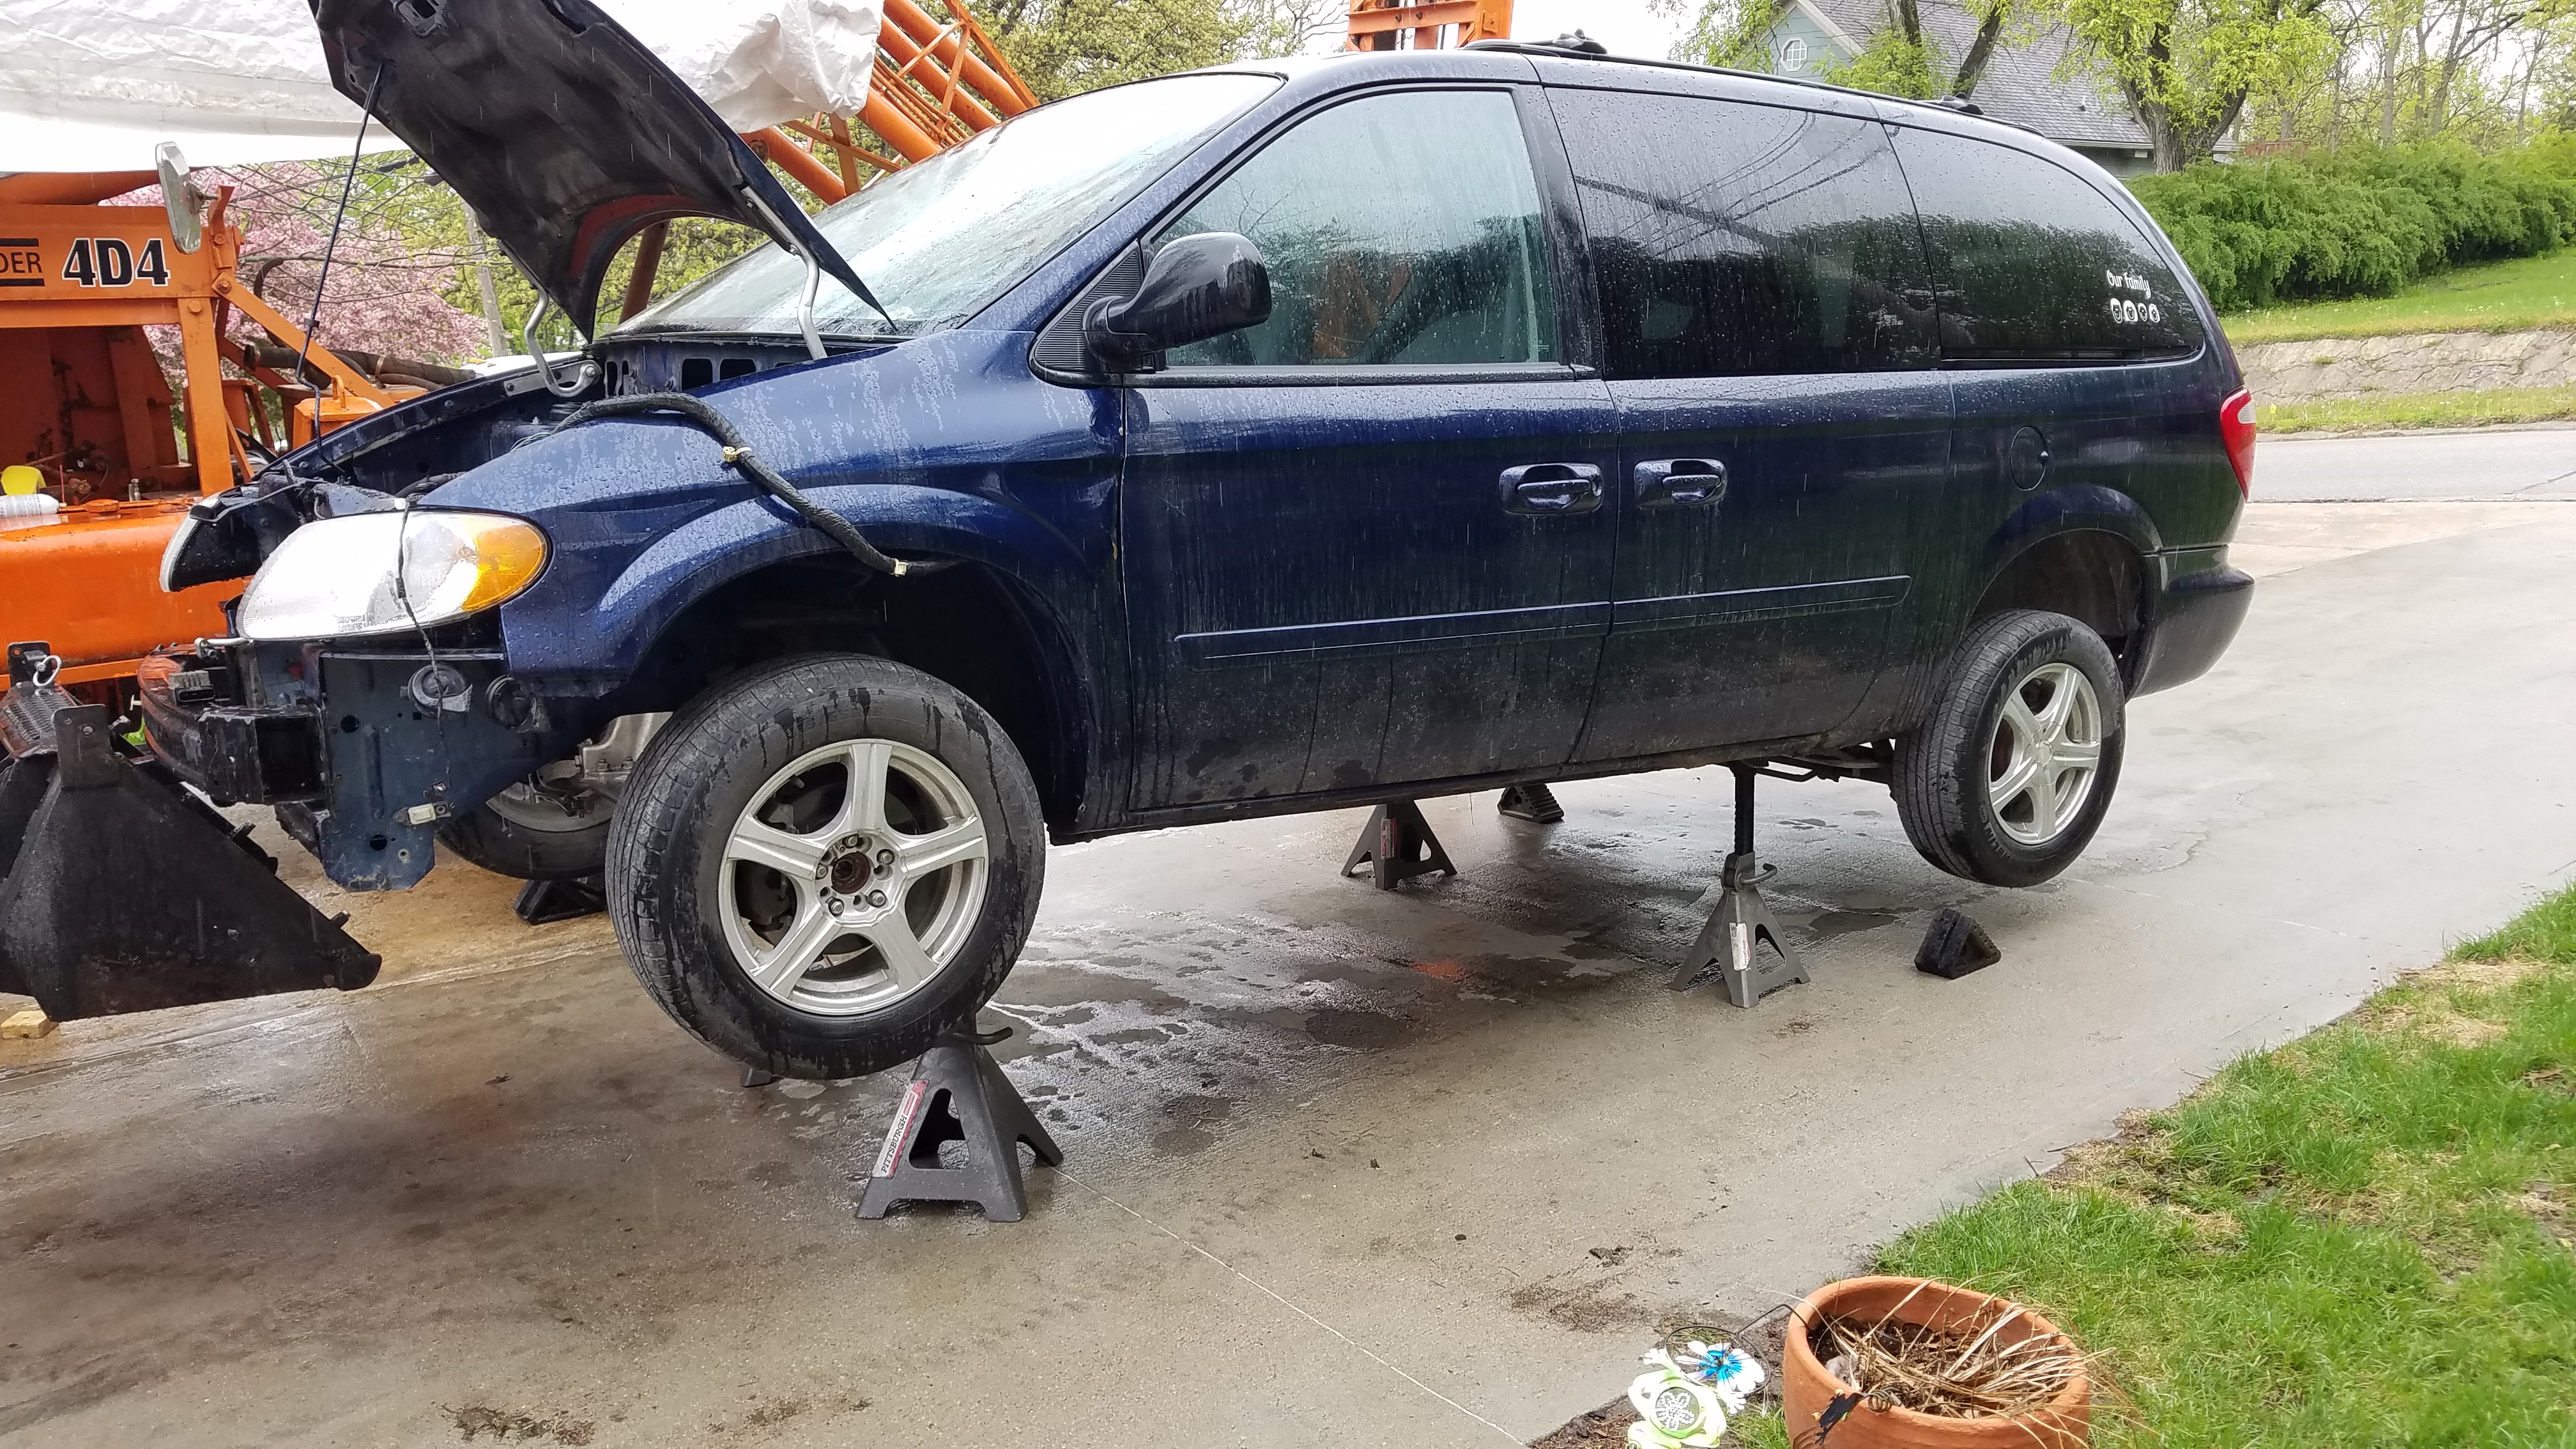
Van prepped for surgery
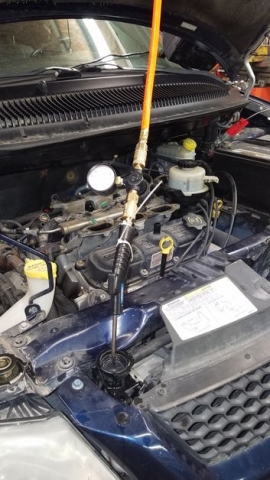
It barely ran when went to pick it up but I I was able to drive it on the trailer. When I got it home I noticed the plug wires were out of order and it immediately started running much better. It was in dire need of a tune up and repair from the kid who had it and I found a few other things along these lines but it was still not running right. I started to push it harder and noticed exhaust in the coolant (doh!) It was either a cracked head or a bad head gasket.
I was excited for the project but it couldn’t have happened at a worse time. We had sold our house and I had only a few weeks before we had to be out and I had a 10 ton dinosaur torn apart in the driveway. The Lull is by far the largest piece of equipment I’ve ever owned and I had very few tools that were heavy duty or large enough to work on it but those could be bought.
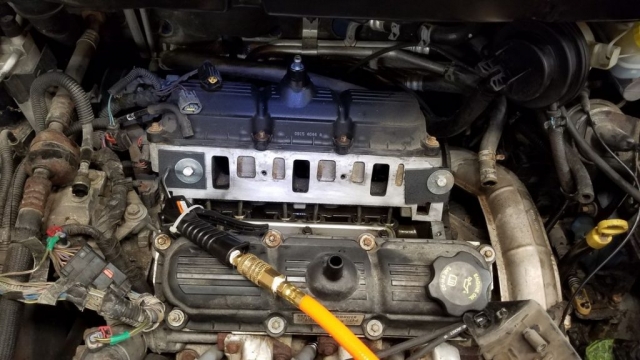
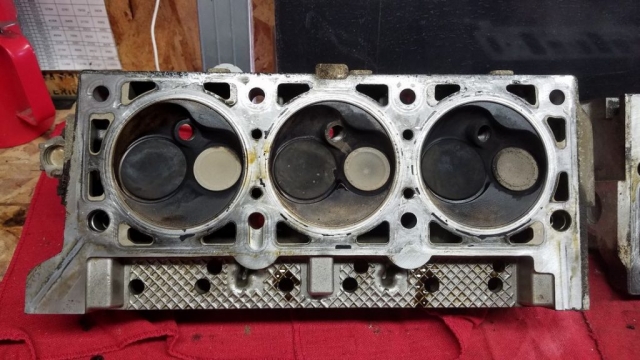
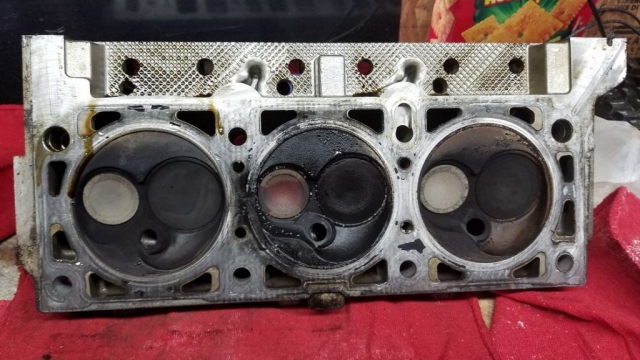
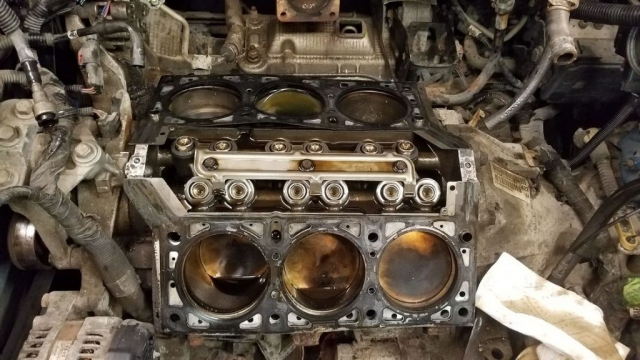
Pulling the Van Heads
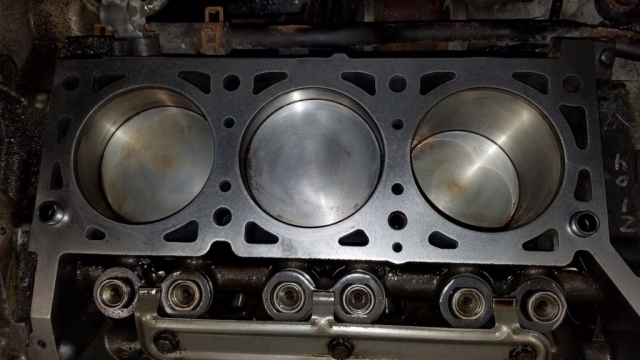
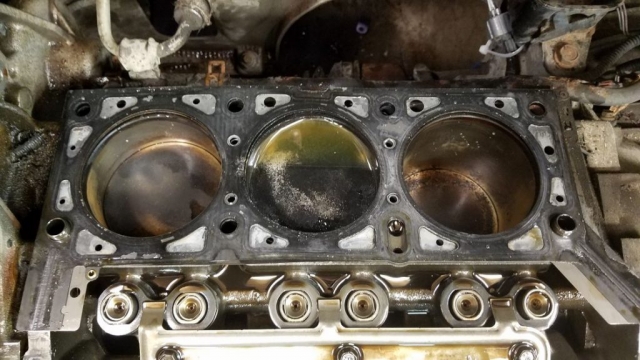
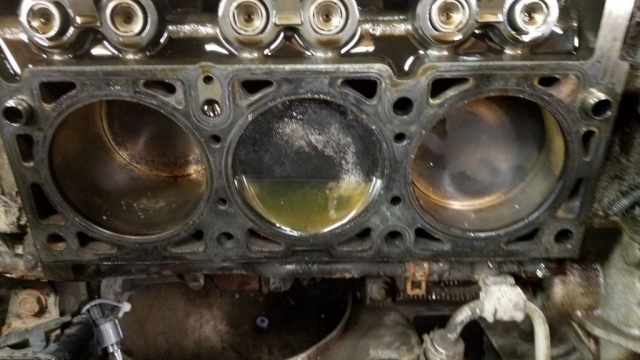
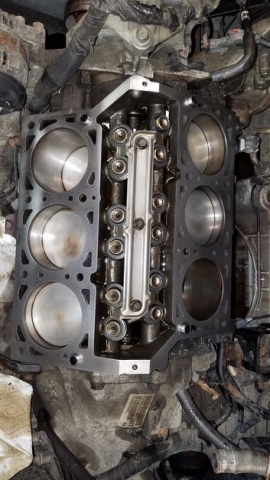
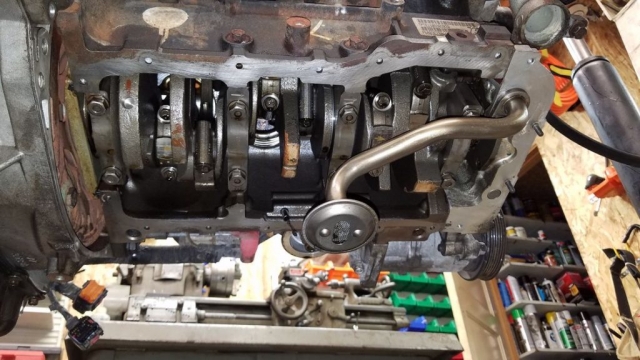
I pulled the heads and to my relief they were not cracked. One cylinder was full of coolant and I found a small blow out so luckily it was only a head gasket. so I fixed the head gasket and bought a radiator and drove the van for a couple days to make sure it was solid. It ran great, has more power than my van and seemed like it was ready for transplant.
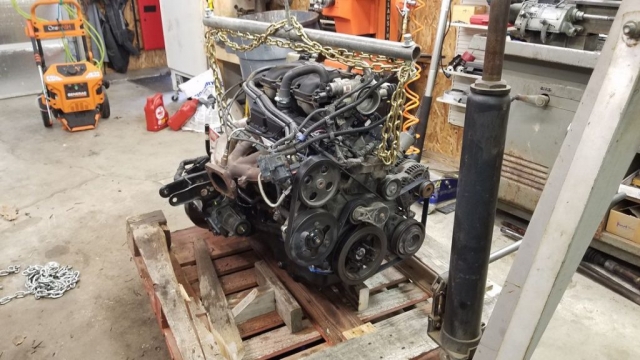
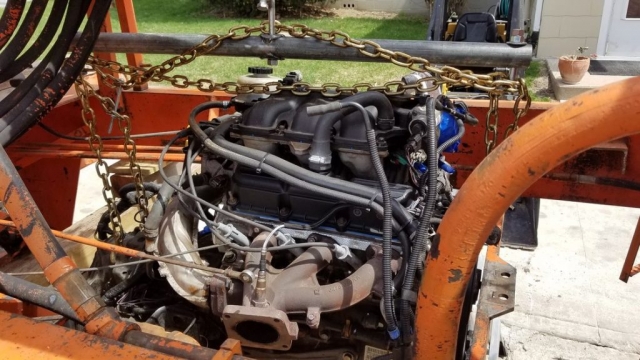
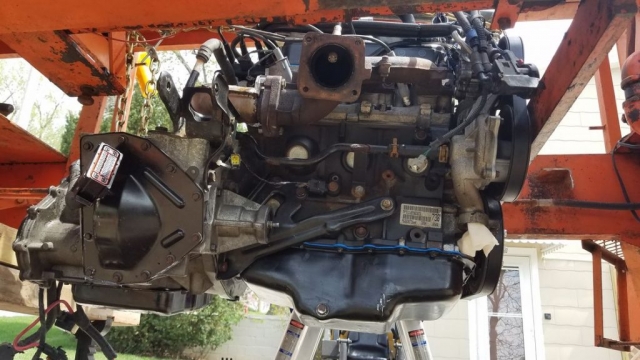
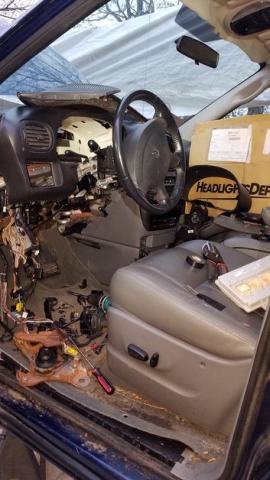
It was now time to start disassembling the van. I pulled the engine and transmission and went completely through them. I wanted this engine to be tip top before going into the Lull.
Modifying the Transmission
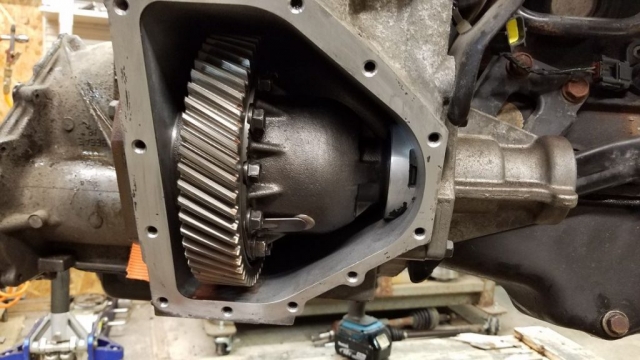
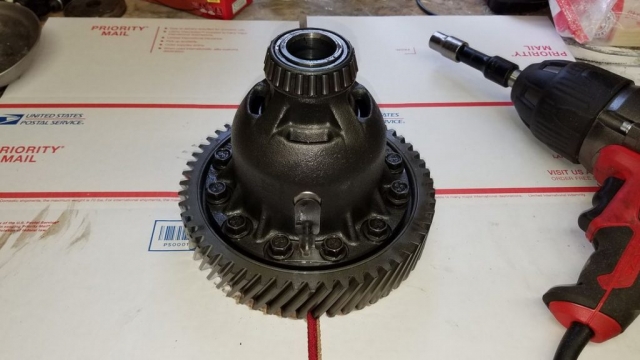
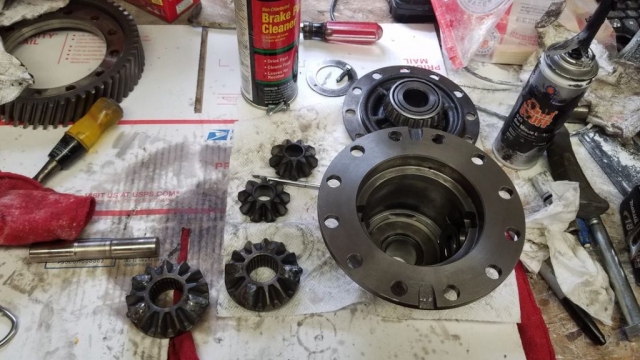
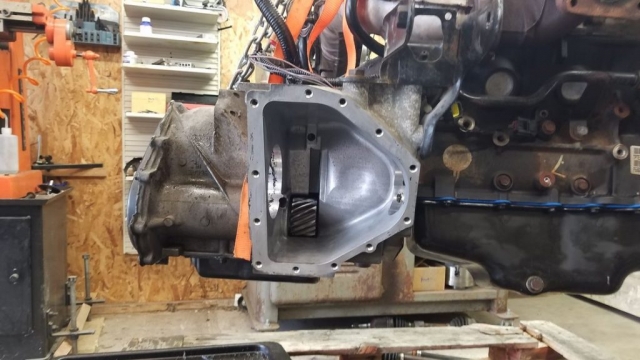
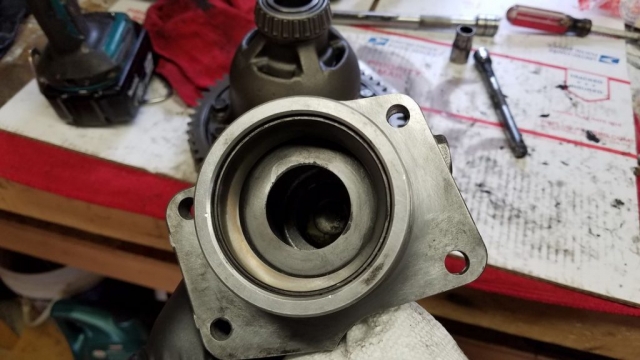
I decided to keep the transmission from the van and adapt the output to the input shaft on the Lull rather than trying to mate it to the old transmission. The old transmission was essentially a torque converter with forward and reverse so I figured having the extra gears would make better use of the 215HP from the van engine. Luckily the driver side transaxle output had a clear shot to input on the Lull a few feet away. I just needed to mate the half of the CV shaft that went into the van transaxle to the gearbox drive shaft on the Lull. This was easily done with the welder and the lathe. The big issue was I only needed one output and the passenger side transaxle output had to be plugged and stopped from moving somehow. I opted to weld the spider gears and used and adjustable rubber plumbing stopper to cap off the old shaft.
Mating to the Hydraulic Pump
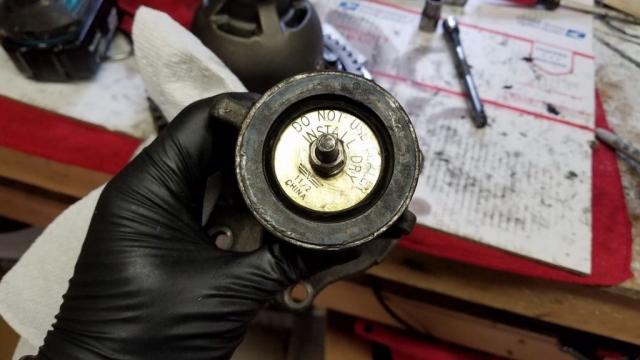
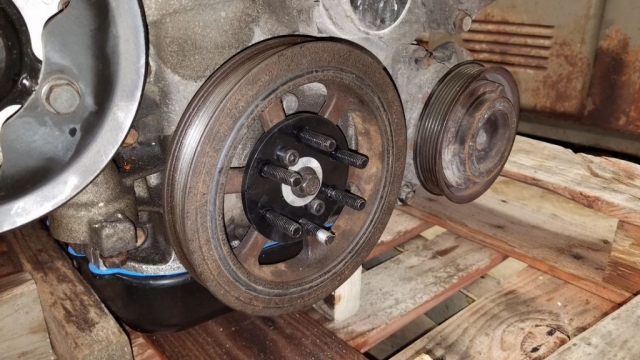
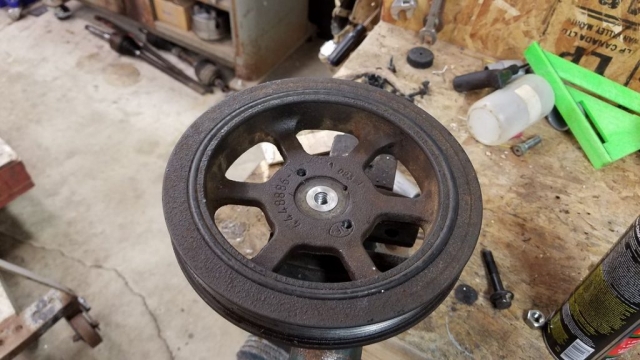
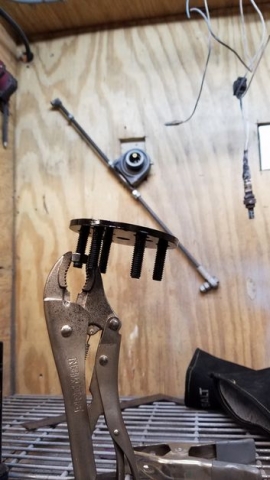
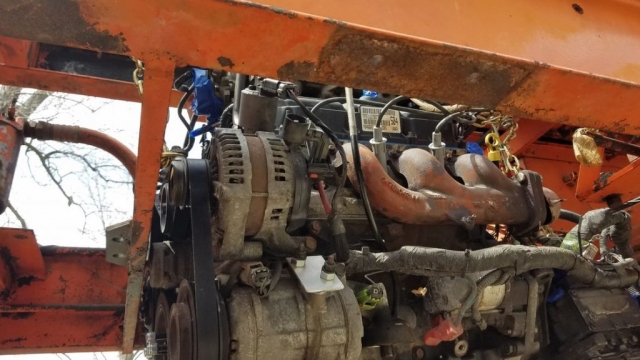
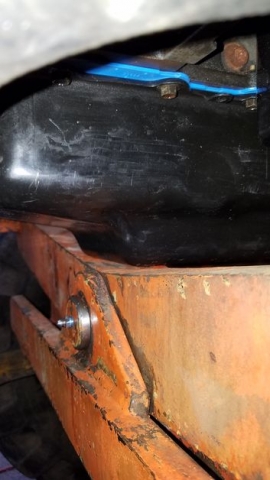
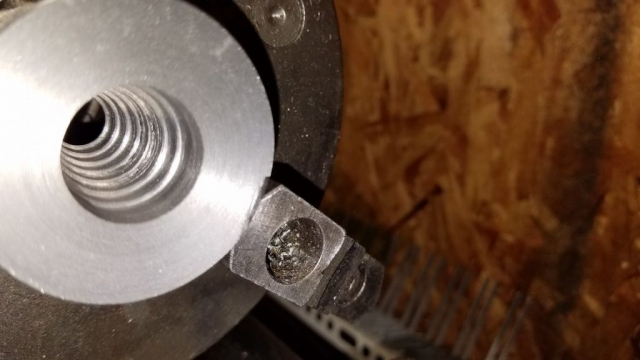
The old engine drove the hydraulic pump from the harmonic balance pulley. Unfortunately the van’s harmonic balance is cast iron and has an A taper so it wasn’t well suited to drive the pump. I had thought about making a custom balancer pulley but this unplanned project was already taking too long and I had to be out of the old house in less than a month so I decided I would try modifying the van’s. Once nice thing about the Lull is the engine compartment is large and very open so if I needed to work on it in the future it would be fairly easy. I ended up tapping two bolt holes into the pulley and used these along with the existing center bolt to mount the adapter. I also added set screws and drilled small dimples into the crank shaft to try and mitigate slipping. It’s a little out of balance but as of March 2021 it’s still working.
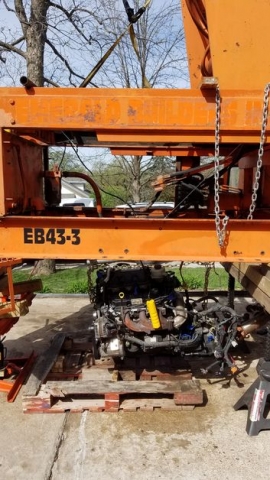
Pulling the old Lull Engine
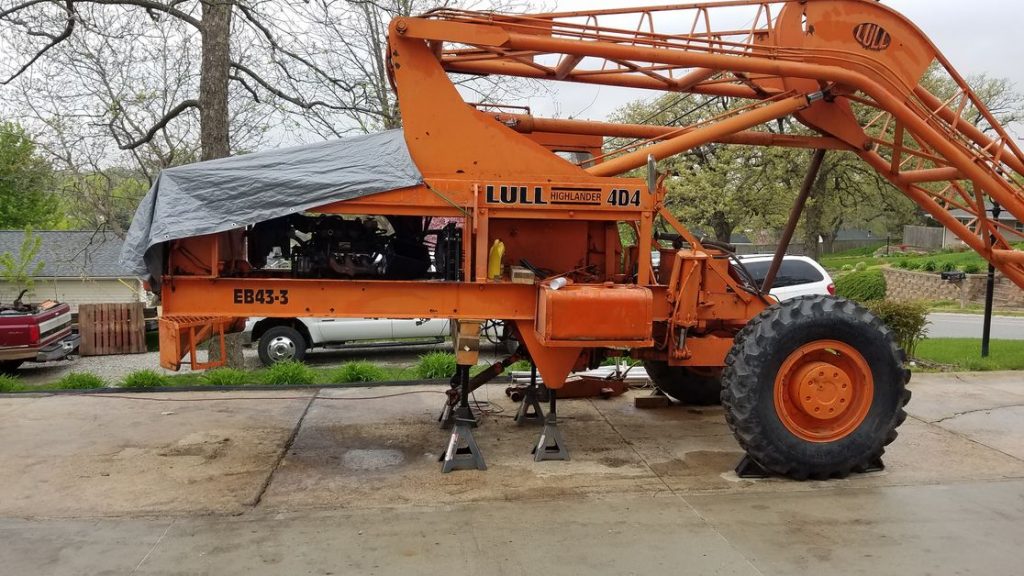
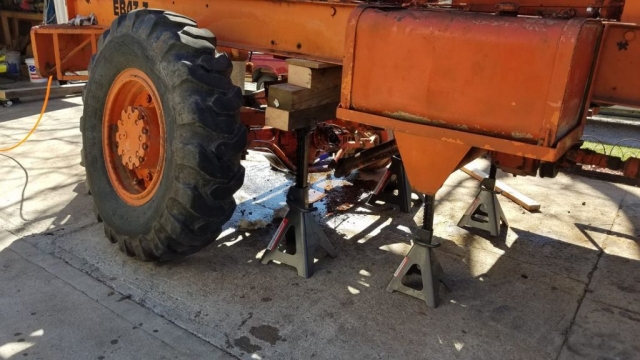
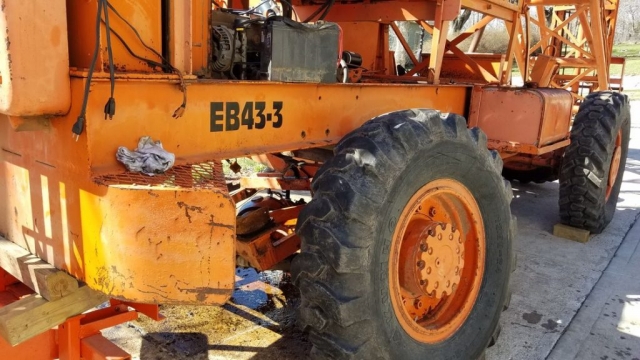
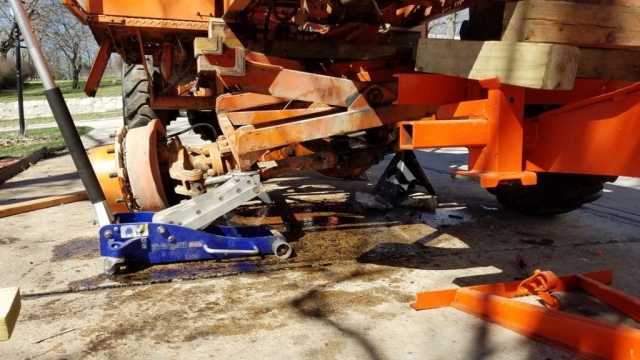
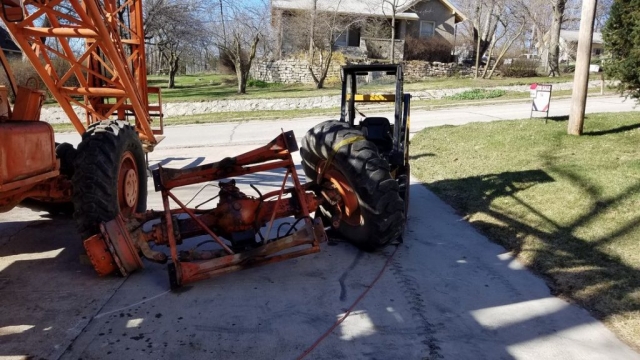
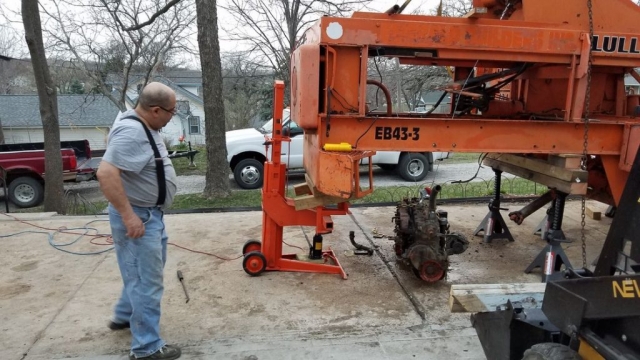
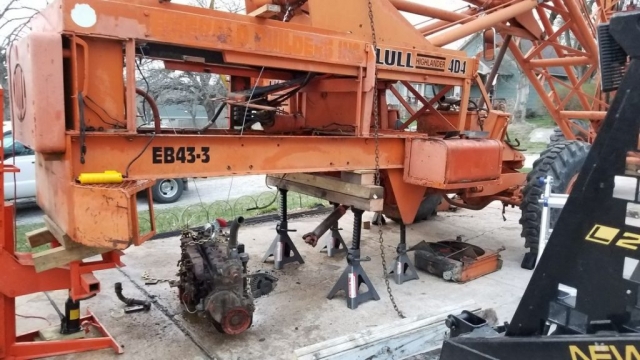
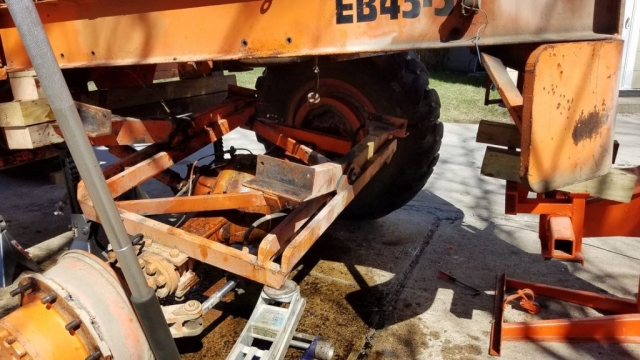
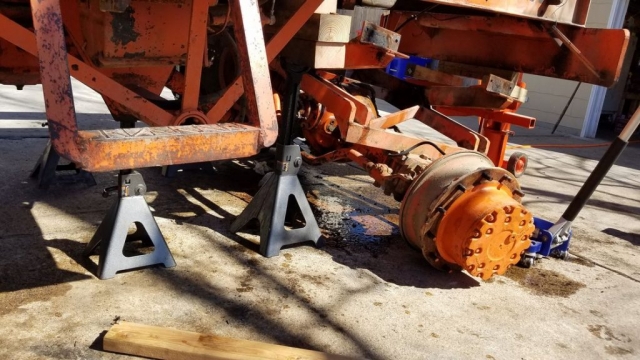
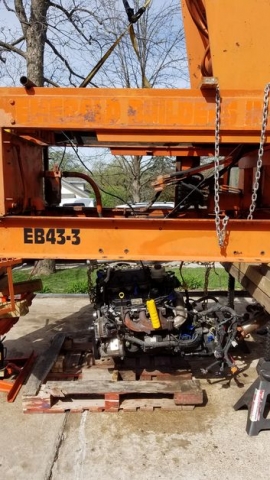
Next it was time to get the old engine out. The Lull weighs ~20,000 lbs and every floor jack I had working together couldn’t lift half of it. I didn’t really want one of those giant semi bottle jacks on wheels so I ended up buying two 4ton floor jacks from Harbor Freight along with some 12ton jack stands. Everything about this was sketchy. The plan was to take off one rear tire and slide the axle out the side but it was too heavy and floppy with the hydraulics disconnected. It was clear the rear had to be open to allow the axle to be rolled in and out. I used an electric impact to run the hydraulic pump, bungee cords to hold the levers then ran the boom out as far as it would go to get as much leverage as possible to reduce the weight on the rear.
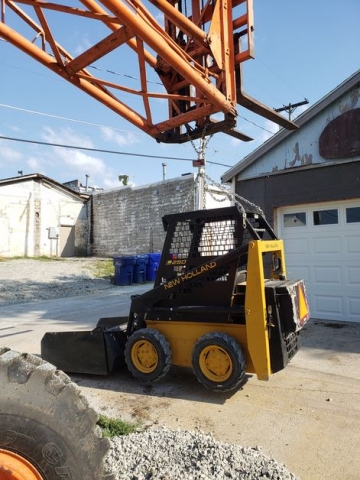
The L250 came to the rescue and had no trouble carrying the old engine and transmission away . Believe it or not this little beast had no problem pushing the Lull back and forth (while it was still on 4 wheels)
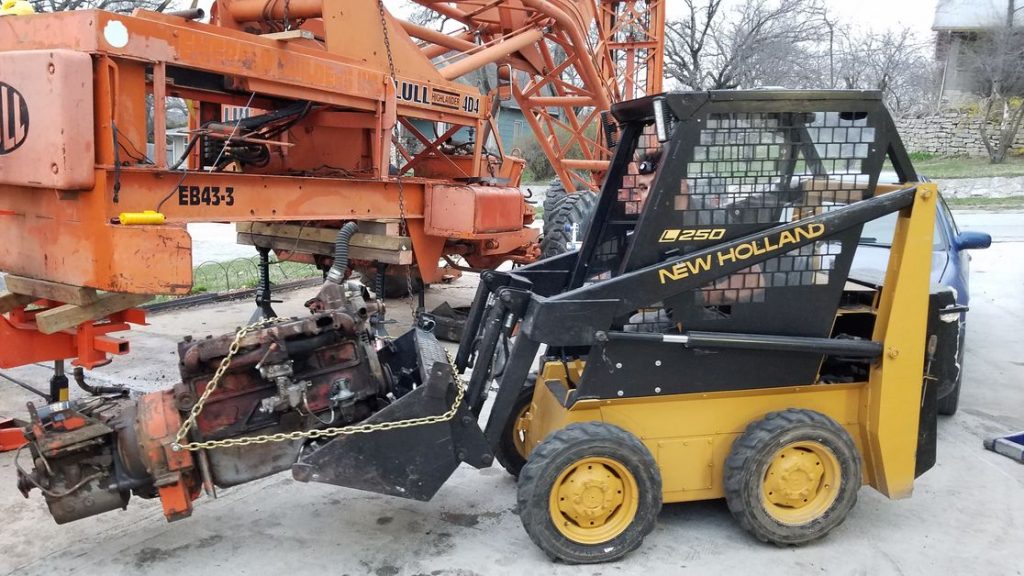
The rear axle on the other hand was far too heavy for the L250 so I had to come up with a new plan. I put the tire back on, bolted the wheels straight so they couldn’t turn (floppy problem) and welded a custom trailer hitch. This ended up working great and the L250 had no problems rolling it around. I ended up moving it on to the forks and again using the impact to lift it up, taking more weight off the rear.
Installing the new Engine
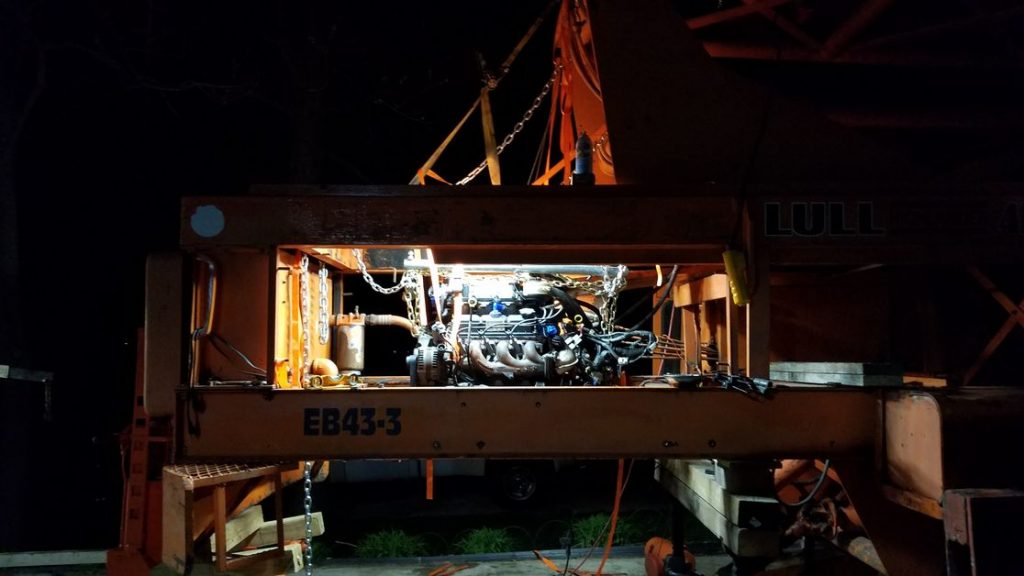
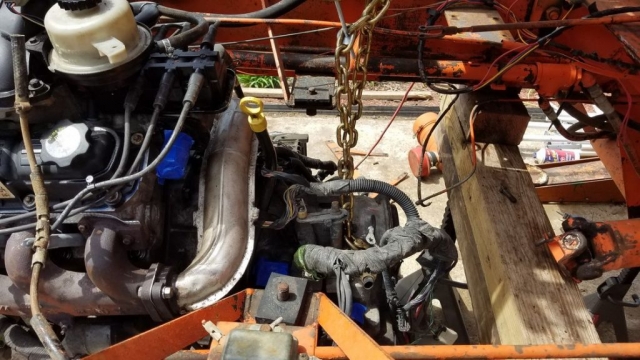
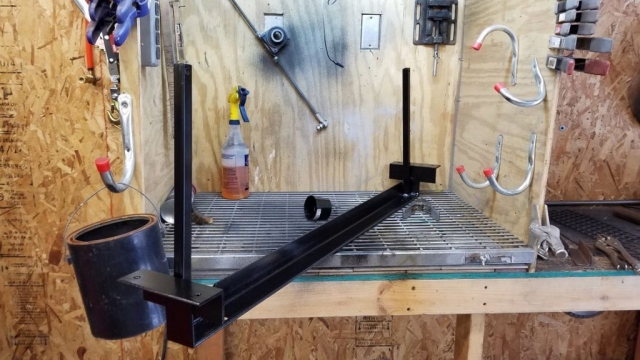
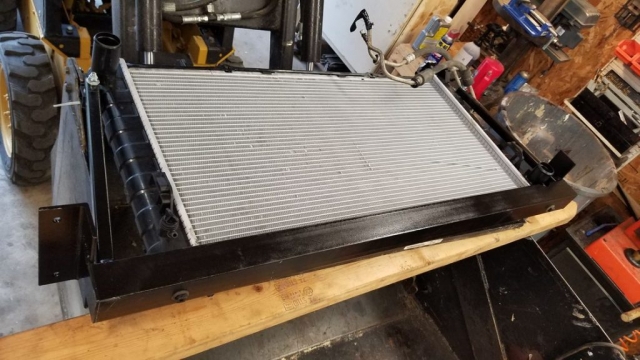
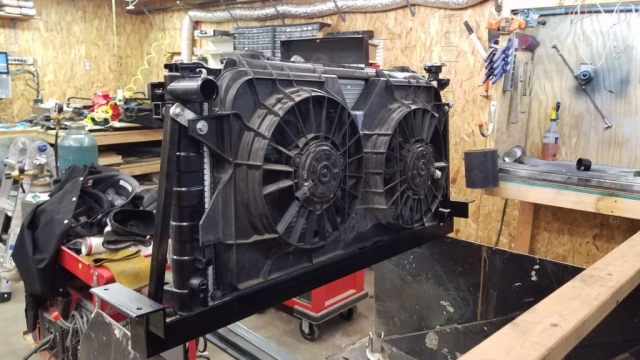
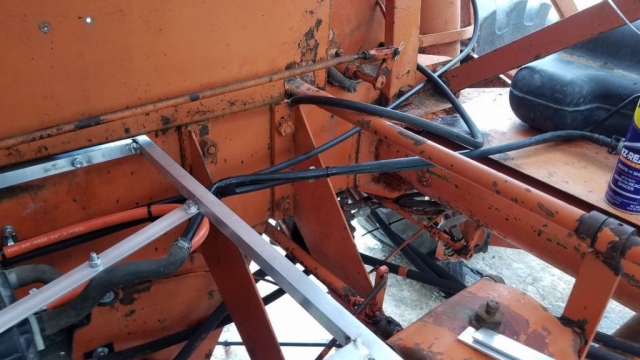
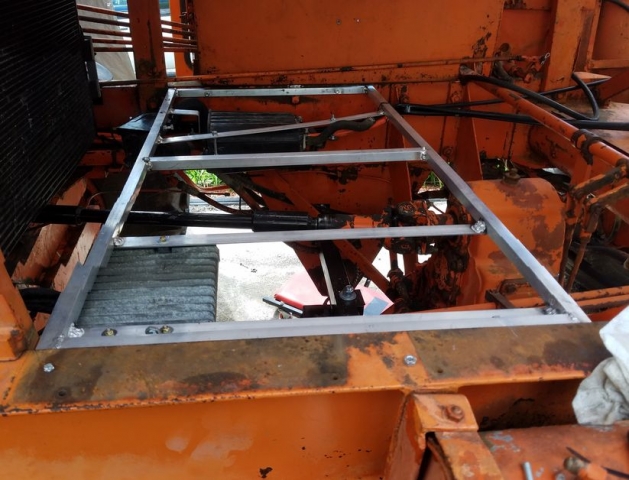
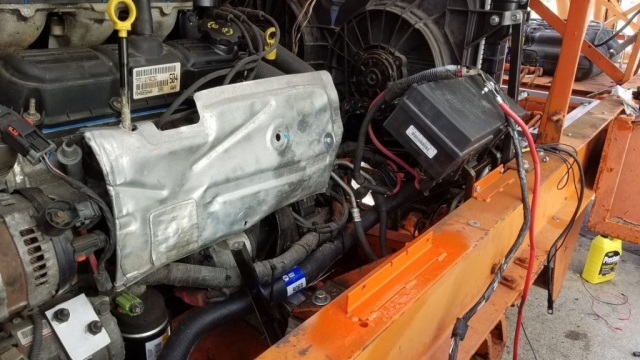
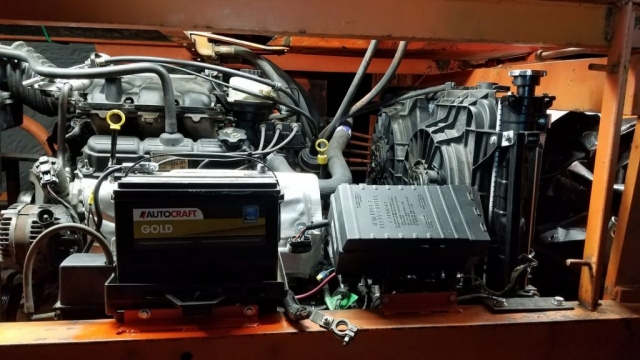
This went surprisingly smoothly. I had to cut out a brace and weld in new motor mount brackets but the van engine and transmission were smaller than the old engine so I had plenty of room to work. The old radiator was shot and the one from the van wouldn’t fit so I ended up mounting it mid frame on the lull. Given how open it is I wasn’t too concerned and it has worked out great.
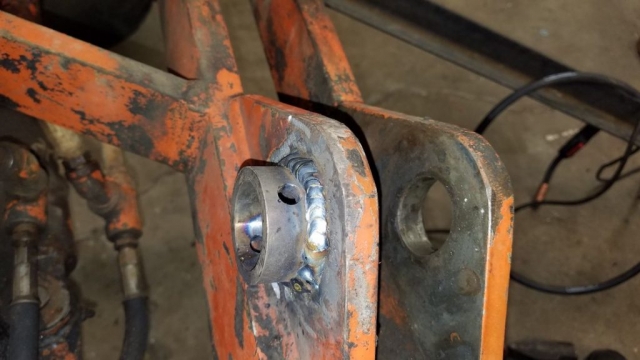
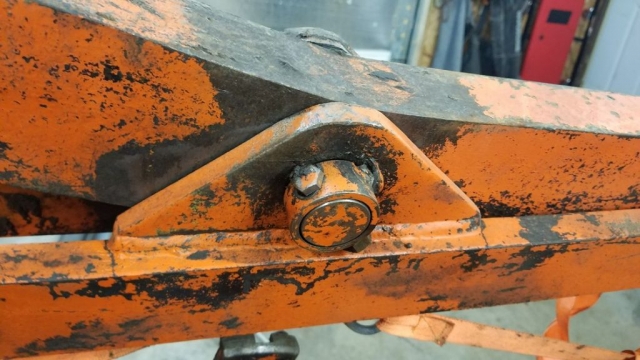
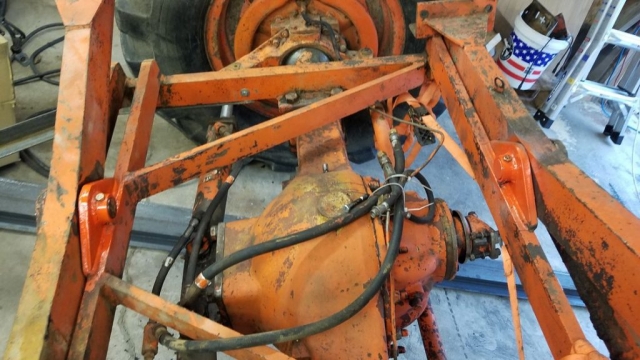
I also fixed some broken bushings and worn out pins in the Lull while I had it apart.
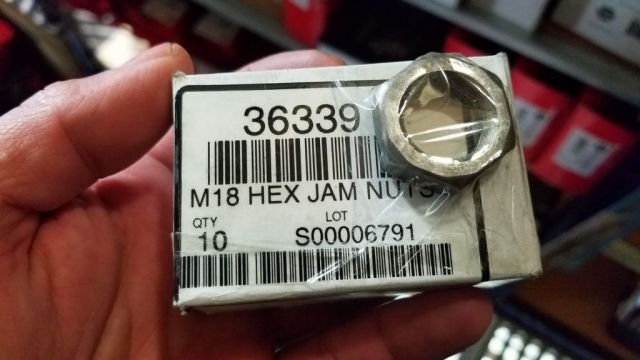
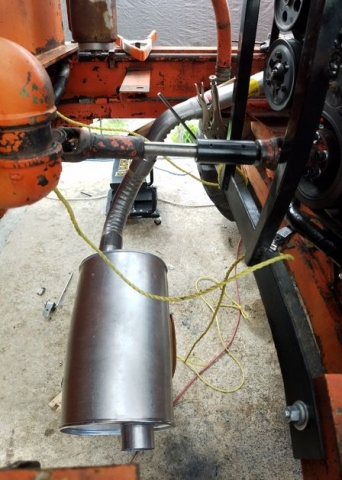
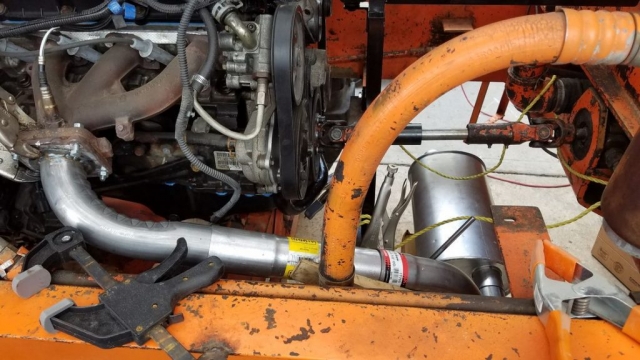
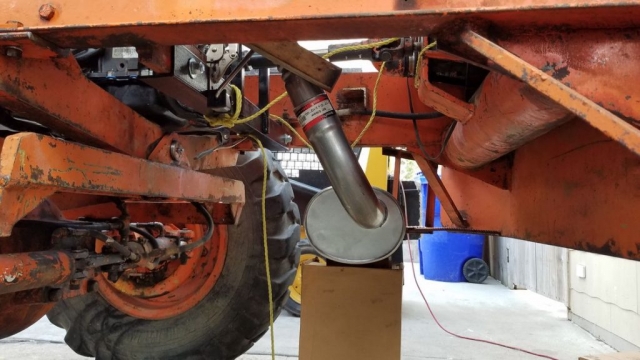
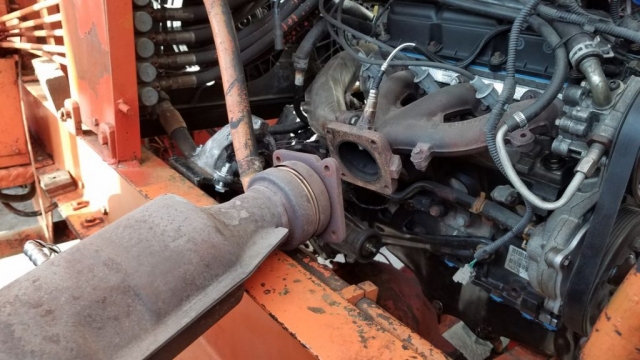
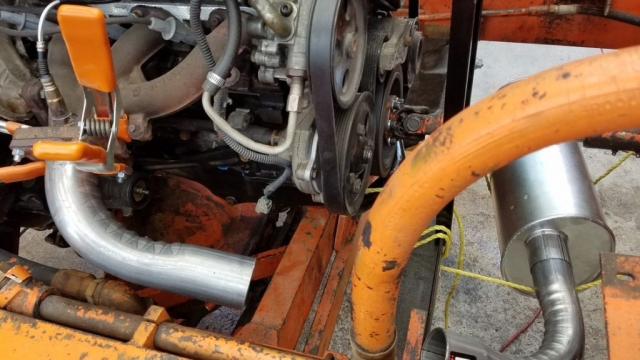
Next up, exhaust. The old rear of the van is the new drivers side of the Lull and of course there was barely any room for the exhaust. I had to cannibalize the catalytic converter to make an adapter. Napa Kevin has M18 weldable bungs for O2 sensors so I ended up keeping both of them.
The Brakes
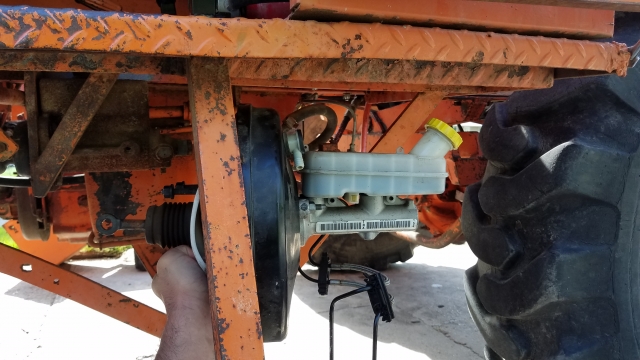
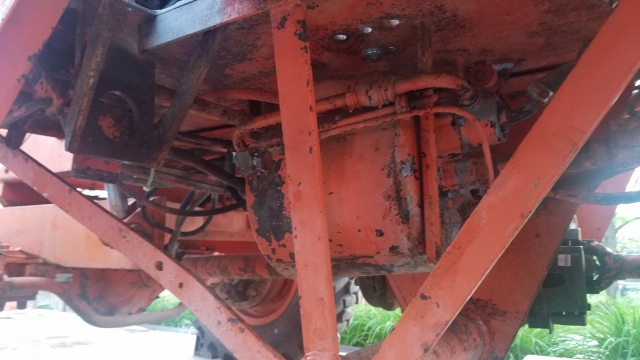
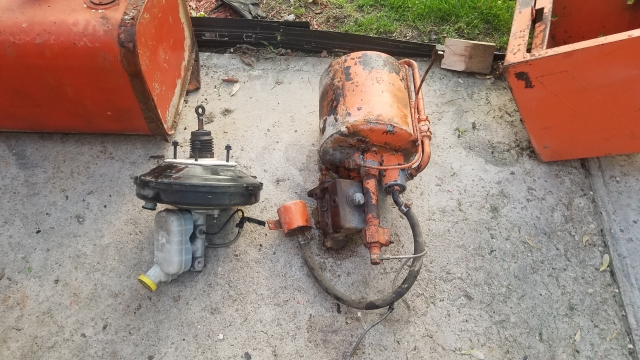
From what I’ve read the Lull brakes barely worked when it was new so you can imagine how bad they are 50+ years later. I first tried to fix the existing brakes but they would not pump up. The original master cylinder and brake booster looked like something out of WWII.
New installed left, Old center, old and new right
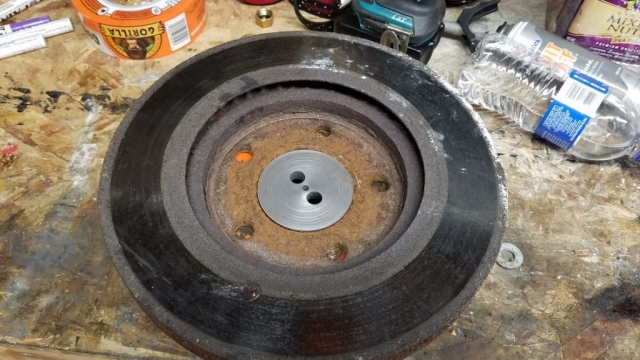
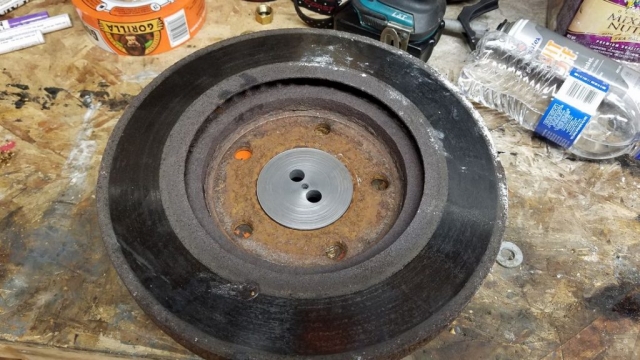
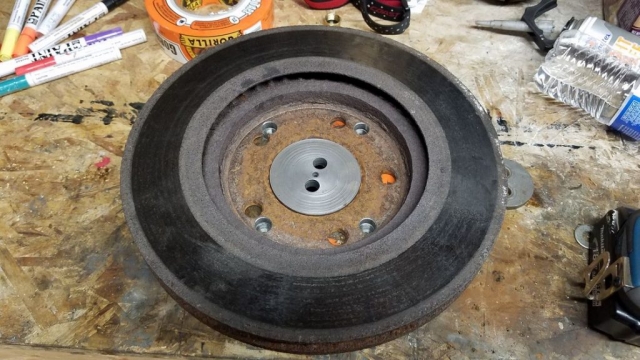
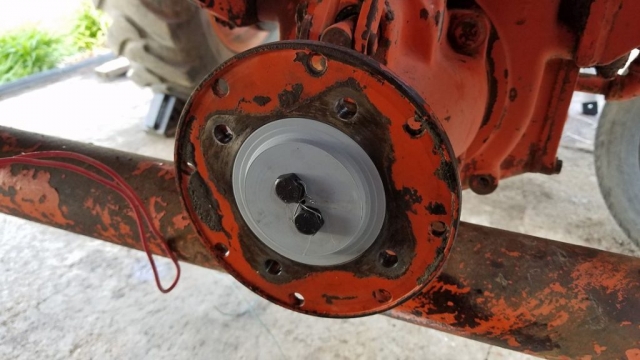
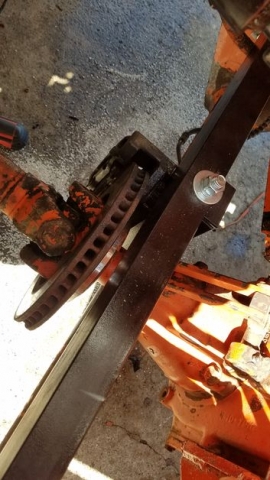
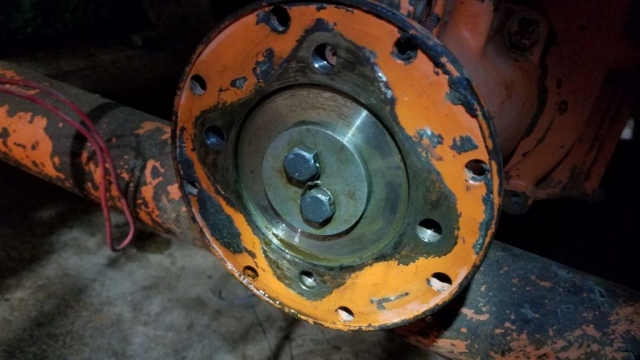
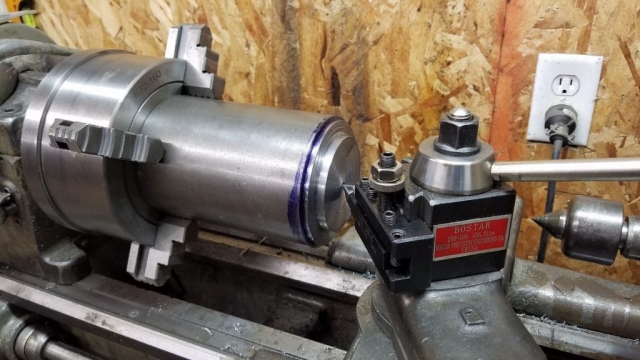
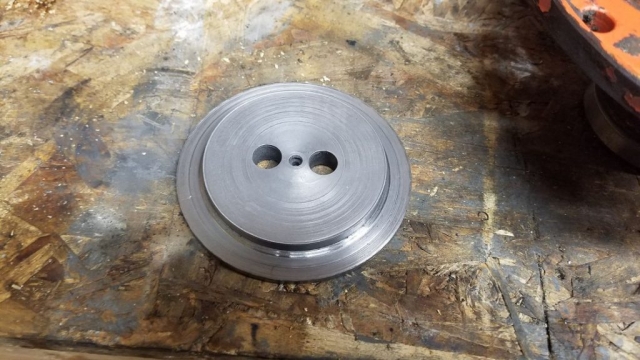
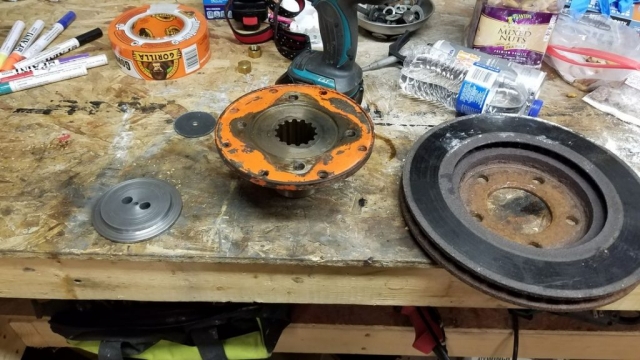
The booster was definitely leaking and it seemed reasonable the master cylinder was bad so I used the master cylinder and booster off the van. It’s tiny in comparison but has 2X the volume however this still didn’t fix it. Eventually I realized the issue was the shoes needed to run out about 1/16″ before they made contact with the drum and this exceeded the travel of the system. Napa Kevin clued me in on a solution to install a residual valve which maintains a set amount of pressure on the brake lines after the brakes are released. I found a 10lb one off Amazon for about $20. After pumping literally gallons of brake fluid through this damn thing all I needed was this little valve to fix it. It finally had brakes! I wanted to bleed it one more time before calling it good and the right front wheel cylinder exploded. Of course it’s a hard part to find and not only $200 but it would take weeks to arrive. I only had weeks before I had to move out so that wasn’t an option. I capped off the brakes line and put a pin in fixing the existing brakes and started looking for another solution. The emergency brake uses a small drum brake with a band on the output shaft of the center differential. Fully engaged you could barley tell it was working but it gave me an idea to install one of the van’s front brake rotors and calipers off the other side of the center differential. I machined another adapter plate and fabricated a bracket and to my amazement it worked really well.
The downside to this approach is it brakes the center differential which does not effect the wheels ability to counter rotate to one another. For example you are going down a steep gravel covered hill the brake could be pressed all the way but one wheel could spin backwards allowing the machine to move. In practice it will indeed do this but it’s mostly an issue in 2WD because the rear axle is decoupled from the center differential removing it from the braking equation. If left in 4WD it works really well and will stop and even hold the machine on a steep hill with a load. It’s incredible that a single brake off the front of a 4000lb minivan will stop a 20000lb machine dead in it’s tracks. Obviously there is some mechanical advantage from the planetary gears in the wheel hubs but modern brakes are still amazingly powerful.
Electrical System
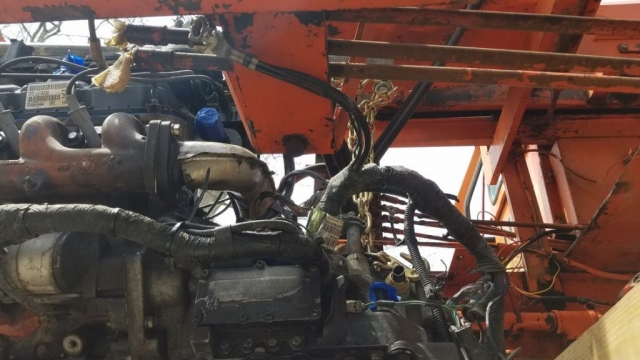
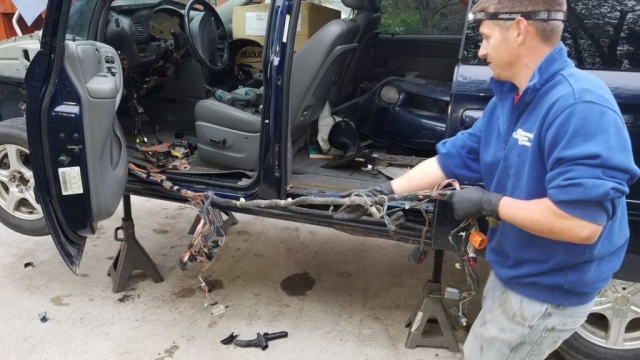
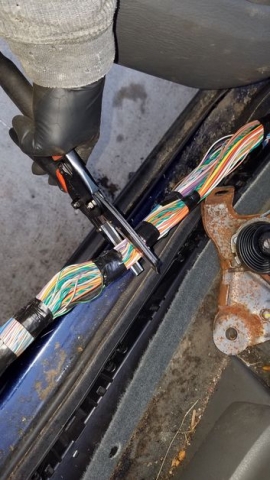
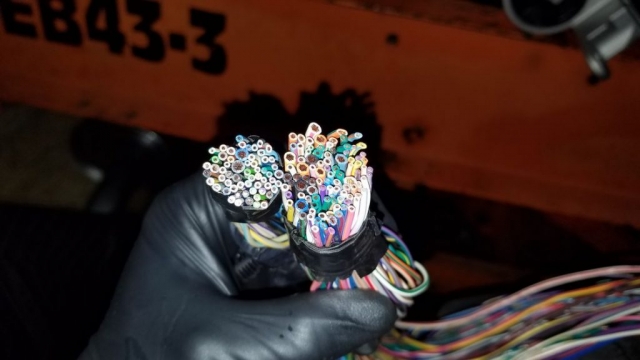
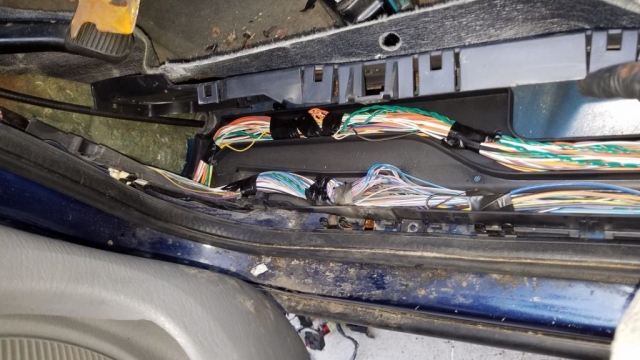
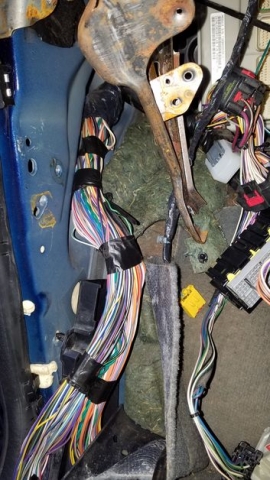
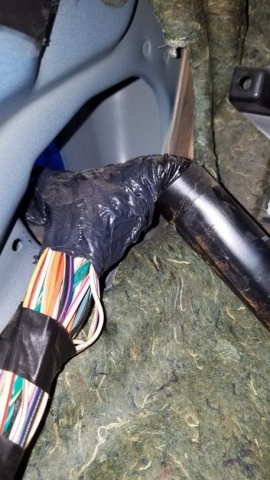
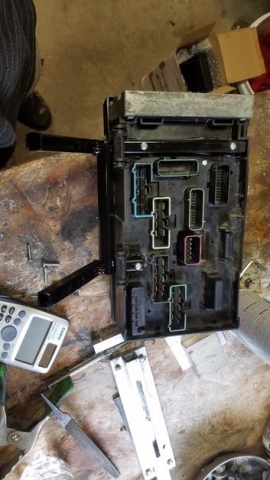
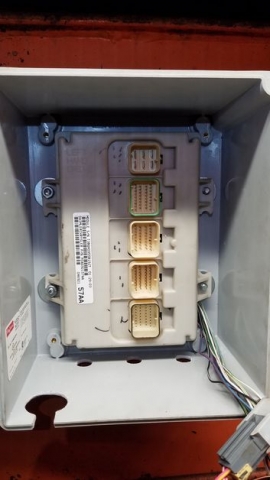
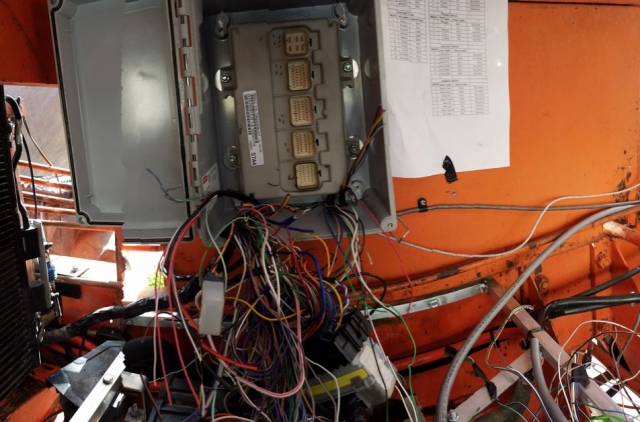
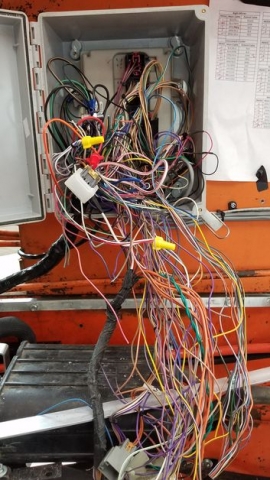
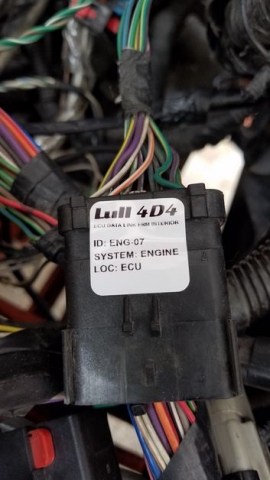
The next step was to install the electrical system from the van. I initially wanted to have a more integrated systems approach but I had 1 week left before we had to be out of the house and I needed this 10ton monster moving. I ended up moving nearly everything over from the van which involved cutting out the wire looms on the van and splicing them back together. What I didn’t realize is many automotive wire looms have loops of wire ever so often and you end up cutting the same wire twice. This was the first problem I ran into but I luckily had a complete wiring diagram for the van and my daily driver van as a working example.
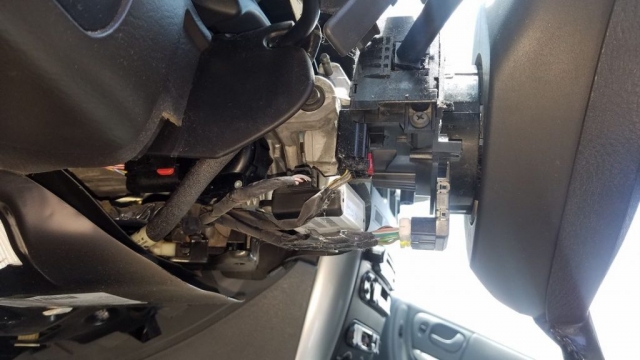
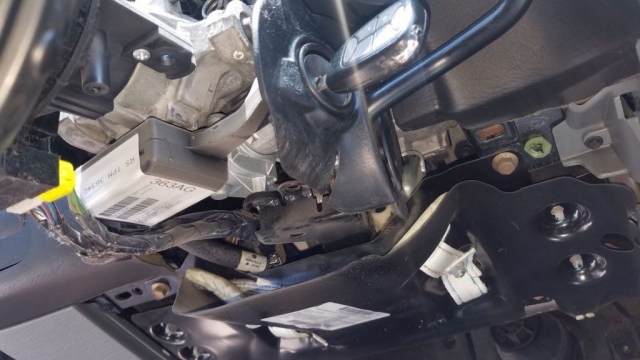
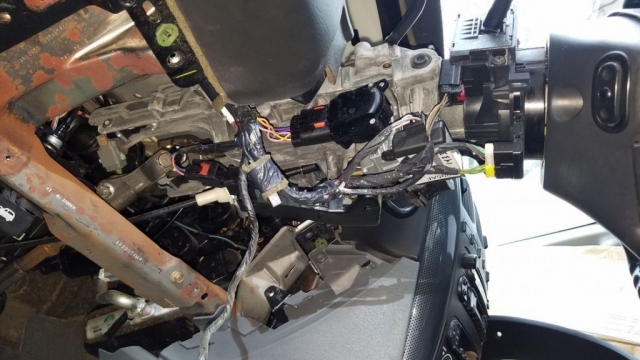
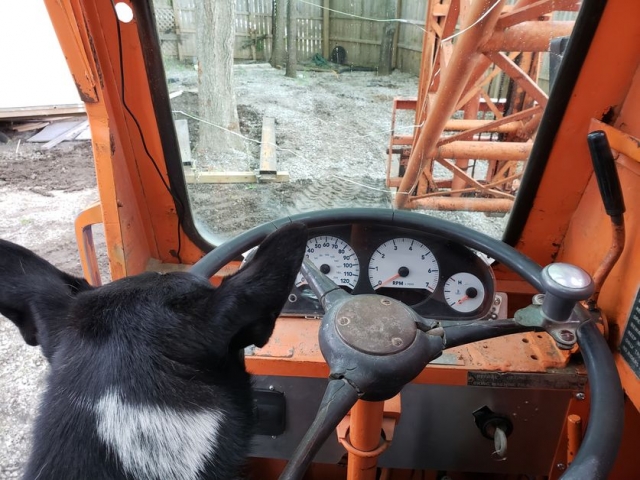
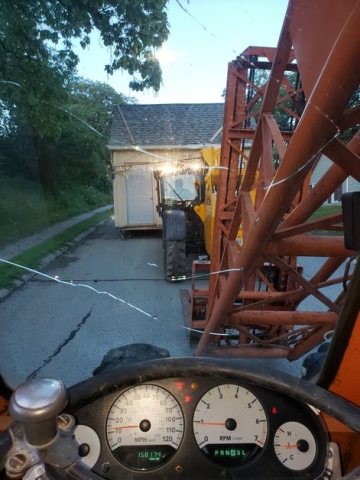
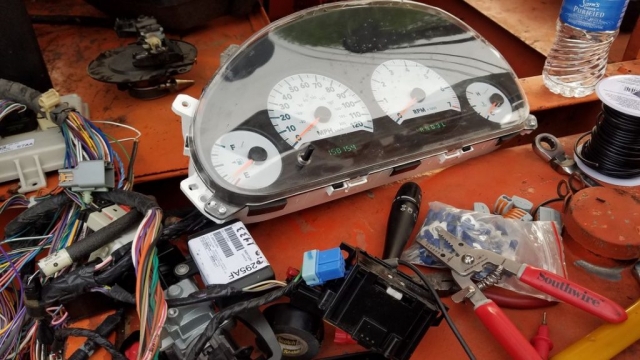
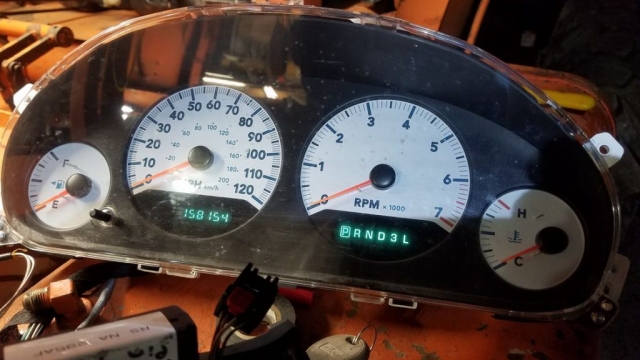
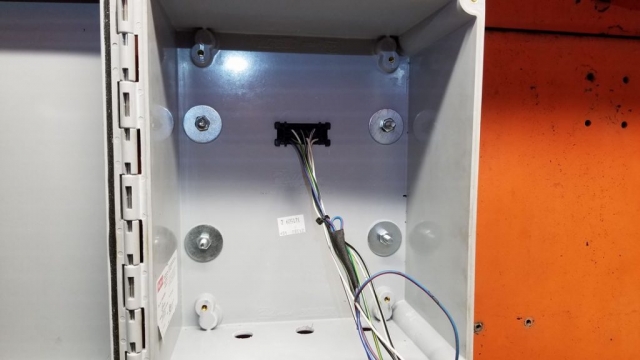
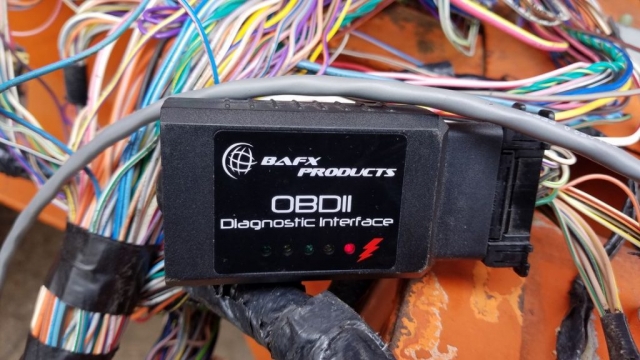
My friend Kyle was welcome help removing the wiring from the van. At this point in the project I wasn’t sleeping much and I was just trying to get this thing done. I had still had to move the entire contents of the house and a 14×16 shed from the back yard that I planned to lift with the Lull (didn’t work out). My fellow engineer friend Jim came over and helped me debug system issues. Most problems were due to those unknown loops in the wire looms but there were also modules that were still in the van that I didn’t think I needed or just bad connections. One great thing about using the complete electrical system is I had access to the OBDII port. I installed the OBDII port in the cab of the Lull and used a scanner to diagnose many issues. I wanted to use the original instrument cluster from the van so I made an aluminum plate for the ignition, headlights switch and side mirrors. I decided I may as well install one of the power mirrors and I replaced the old ripped up seat with a power seat from the van complete with seat belts.
The rest of the wiring was next. The van has a self contained HVAC box for the rear passengers with a heater core, evaporator coil and blower. This all worked on the van and although I didn’t have time to install it at the time but I left everything in place on the engine. This ended up not being that important but would be a nice to have. What I really want is the windshield wipers off the van but add it to the list!
I worked through a few nights to get this done. My neighbors had to think I was crazy and on drugs. The rest of the electrical integration was tedious but went smoothly.
First successful run test… These are the moments that make it all worth it.
After most of the electrical system bugs were worked out I fabricated permanent mounts for everything and started to reassemble the Lull. The rear wheels went back on and I was getting closer to driving it for the first time with the new engine.
Fork Extenders
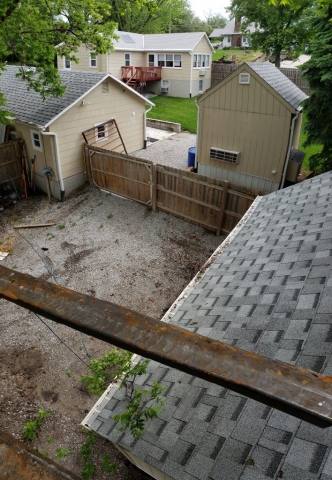
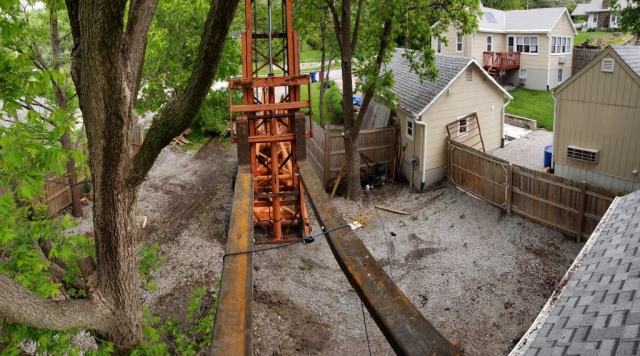
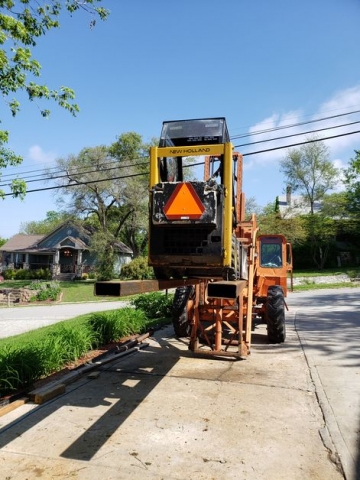
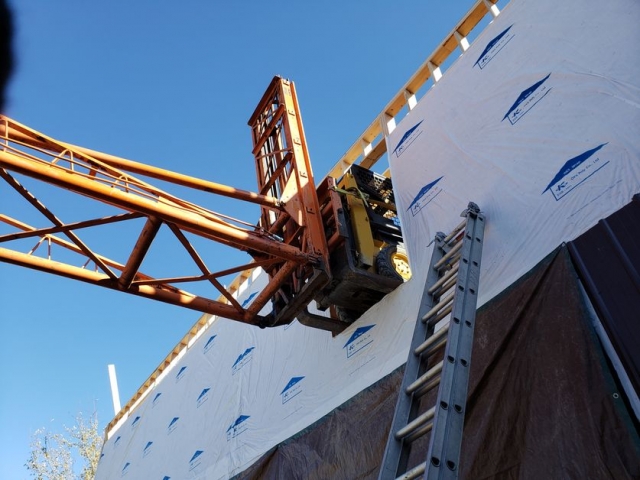
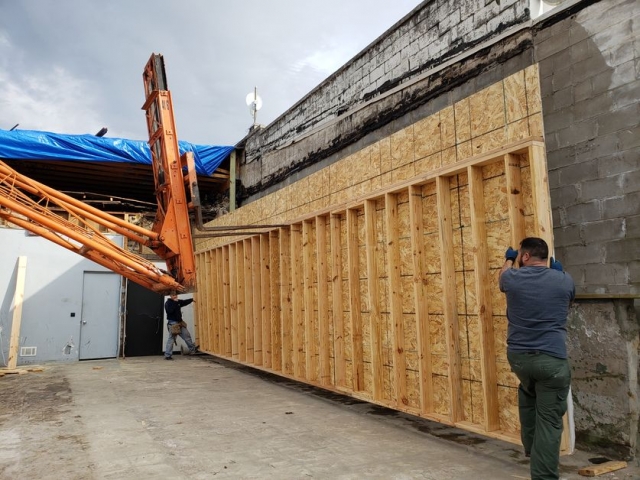
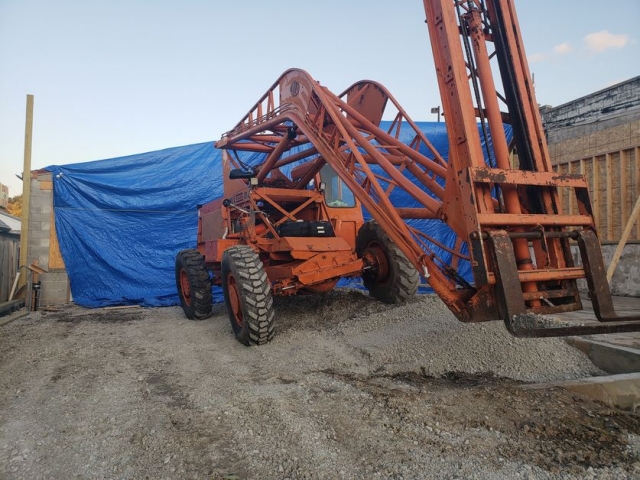
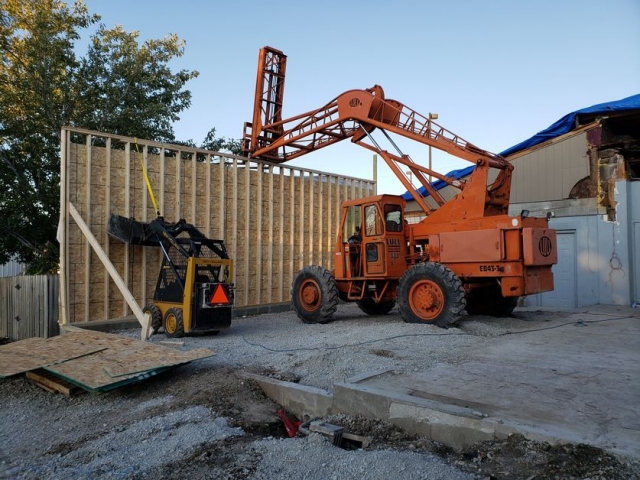
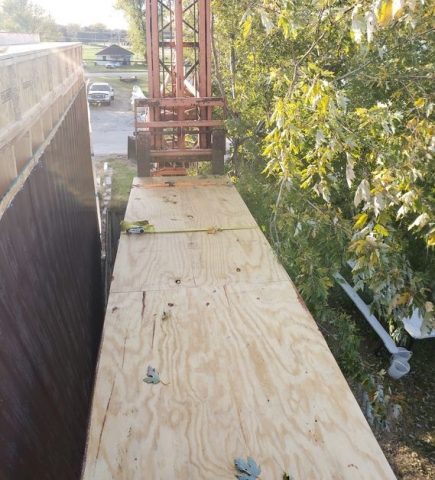
The stock forks are only 5′ long and I knew I needed longer fork extenders. I bought a 4″x8″x24′ long rectangular tube and cut it in half then welded fork grippers to each end so they can be bolted to the forks without damaging them. Unfortunately I can’t find any pictures of the assembly but here are a few pics of them in use.
Final testing and putting her to work
The biggest screw up of the project came to light when I put the Lull in gear for the first time and lurched the opposite direction I was expecting. I had thought about engine rotation direction but I must have been thinking of the passenger axle or mixed up the rotational direction on the old transmission. This didn’t hurt anything and it still worked however it only has 1 forward gear and 5 reverse gears. Even with the Lull gearbox is high-high it’s fairly slow moving forward but boy does it scream in reverse. It’s amazing how fast it will pound through the gears. I looked into the issue and by some stroke of luck the primary output shaft from the transmission to the transaxle lines up perfectly with the existing Lull drive shaft. This drives the spider gears which causes the rotation to reverse to connecting to this shaft would solve the problem. All I had to do was fabricate another adapter and cut a hole and install a seal on the transmission output shaft cover. At this point though I decided it wasn’t critical and I could live with it as long as it worked. As of March 2021 I still have not fixed this issue but it is on the list.
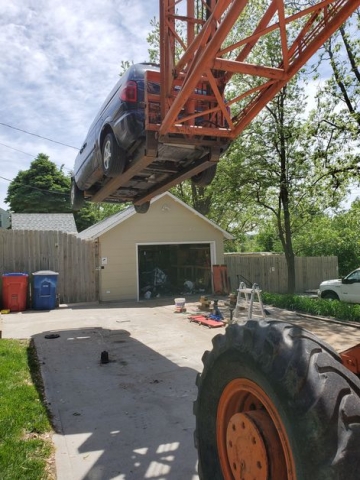
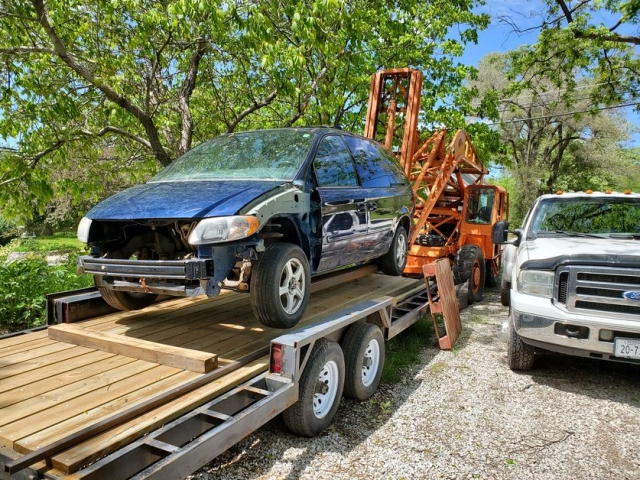
I immediately put her to work. If she was going to break I wanted it to happen while I still had all my tools and equipment setup. This included hauling the carcass of it’s former self.
Using the Lull to change the brakes on my other van.
At this point the deadline had come and I was moved out of the old house. There were still a lot of things I wanted to do to the machine but it was going to play a pivotal role in the construction of the new place so I decided as long as it wasn’t something major I would wait until things calmed down. Now it was time to really put her to work.
Demolition Mode
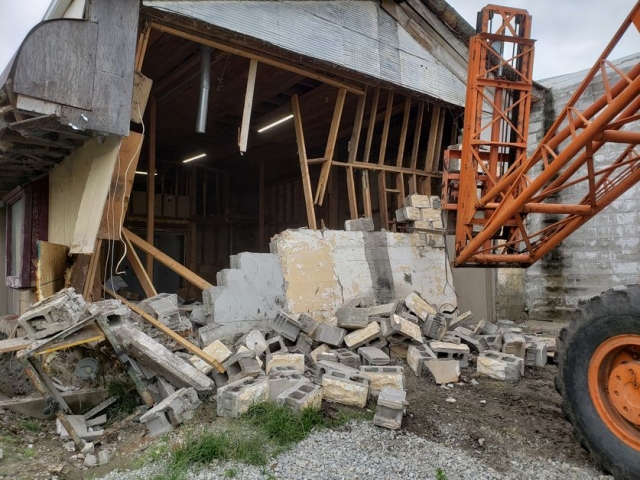
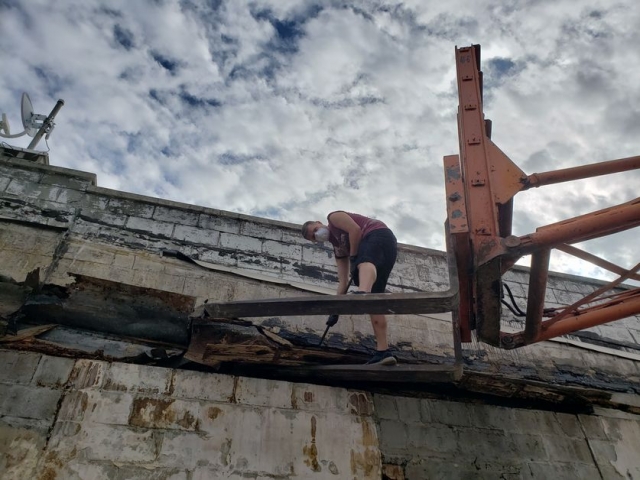
Fun fact, The Lull is an excellent demolition tool.
Construction of the building
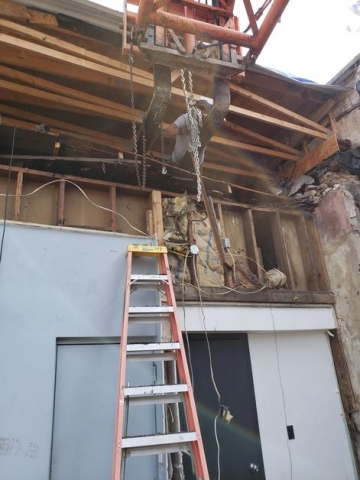
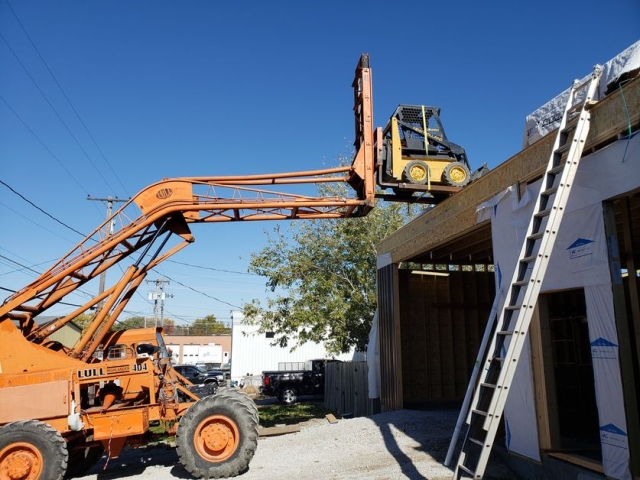
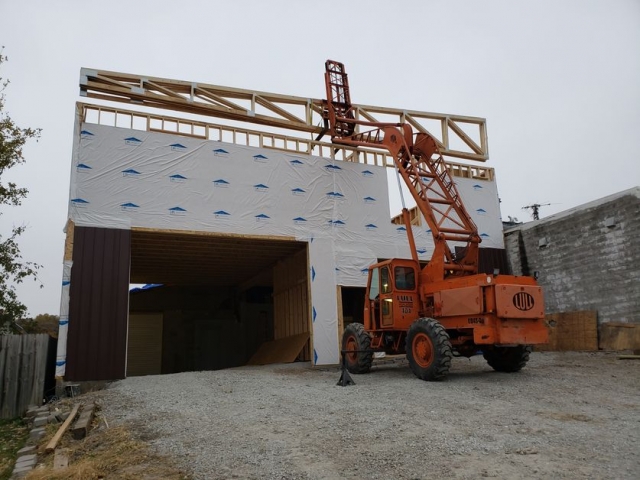
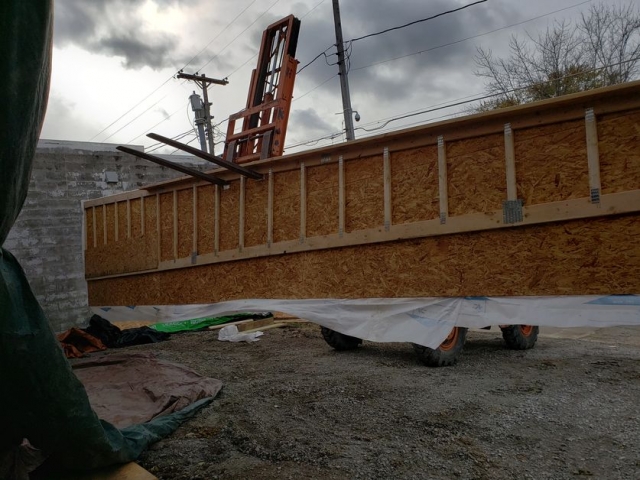
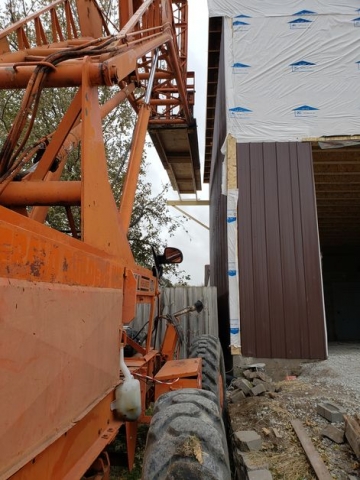
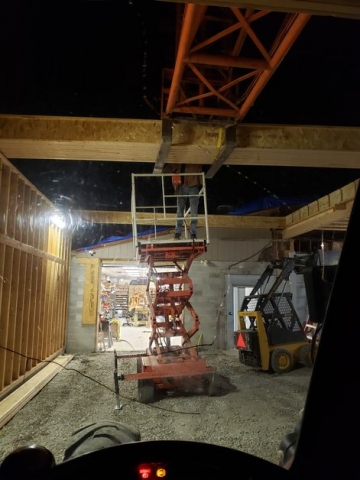
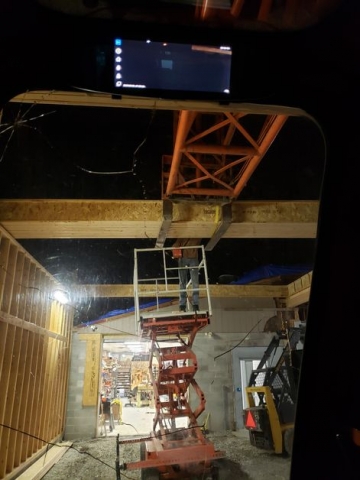
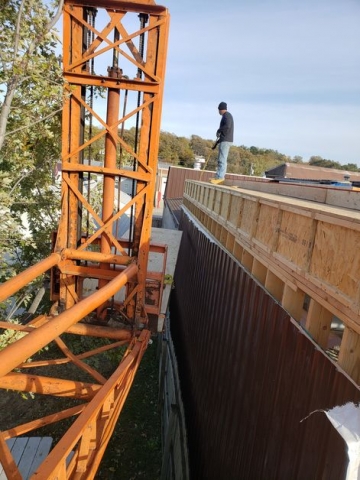
I started construction on October 24, 2019 and moved in February 23, 2020 so almost exactly 4 months. In the spring we built a 38’X16′ deck on the roof of the existing building which the Lull was of course critical to lift the over 10,000lbs of materials 16′ off street level.
Heavy Lifting
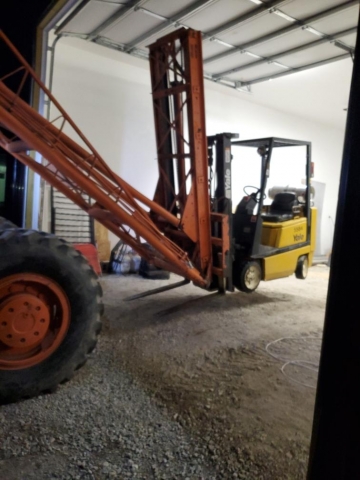
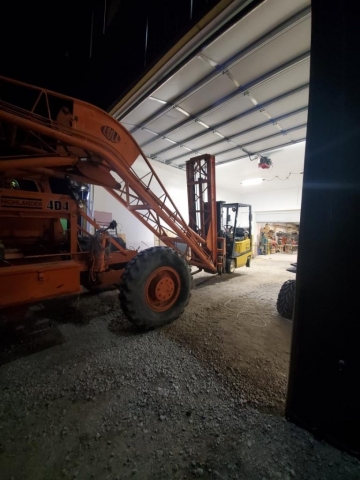
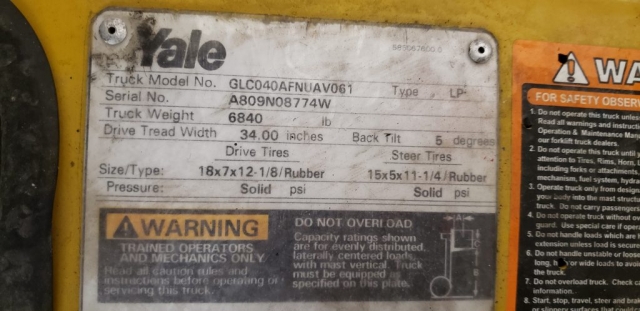
I bought a Yale forklift that has a sticker weight of 6840lb. This is well over the Lull’s capacity but she took it like a champ.
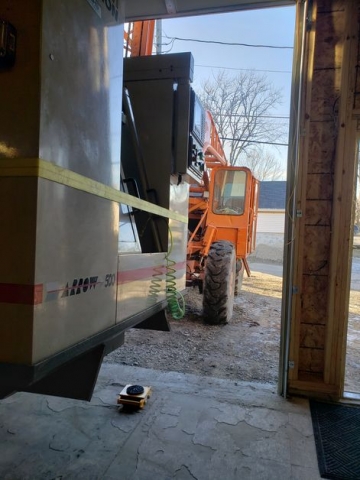
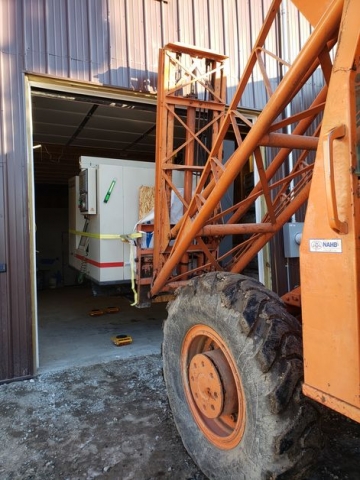
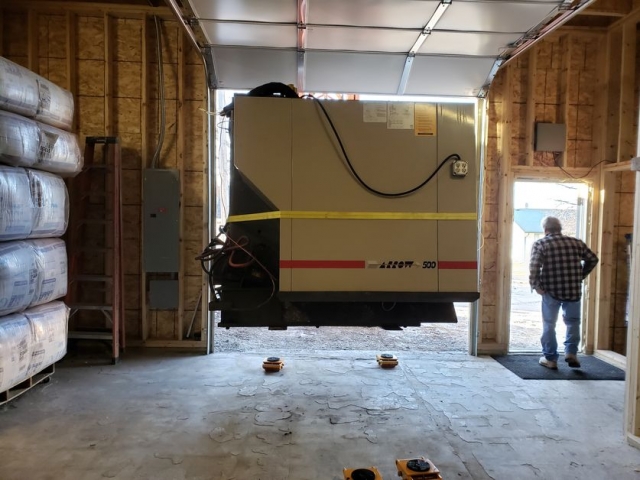
Cincinnati Arrow 500 Milling machine. Rated weight 6720lb.
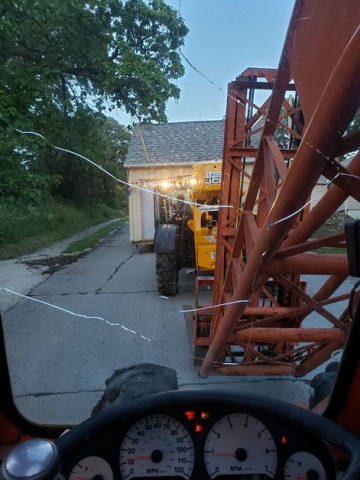
Other honorable mentions.
Tree removal
Documents
To Do List
- Fix reverse drive issue
- Fix brakes
- Install HVAC
- Install Windshield wipers
- Replace all glass
- Replace hydraulic seals
